Right let me start by saying that even before the game started I made a mistake. My opponent Mark had under pointed his list so my quickest solution was to upgrade his Neb battery from 3 to 6 barrels. Oh was I going to regret that.
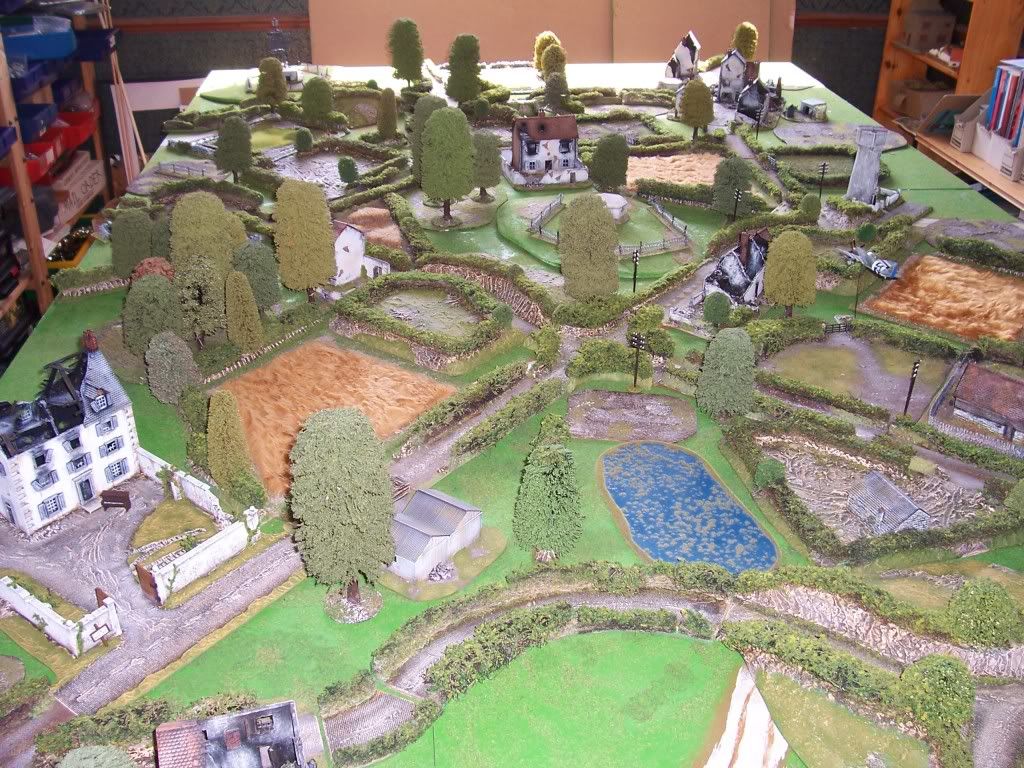
To start with then we played a modified Hold the line. The table was 10 feet long 6 feet wide. The Brits would deploy in 2 feet from one end. The Germans would deploy 6 feet in from the other. Leaving 2 feet of no-man’s-land.
The German deployment zone was split into 4 18” bands. Starting at the German front line the German player deployed an objective. Then I deployed one in the second band and so on.
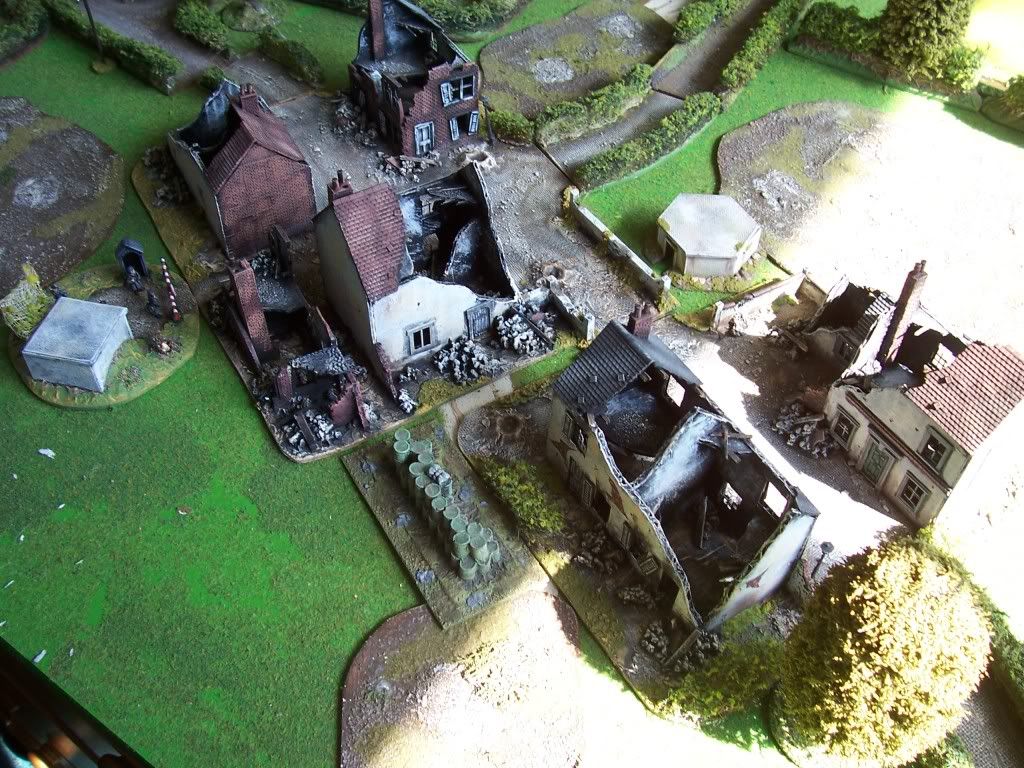
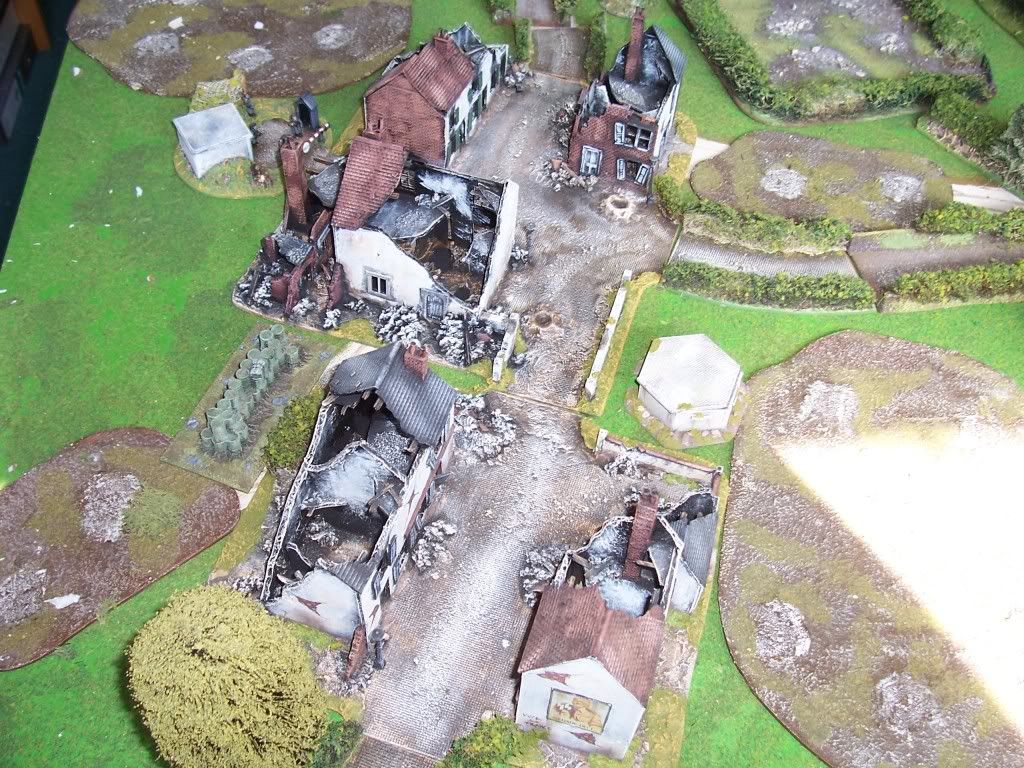
The objectives.

The objectives were worth different points depending on who you were. So the objective near the German base line would be worth 4 points to the British and only 1 point to the Germans. The next one in 2 to the Germans 3 to the British. Next 3 to the Germans 2 to British and lastly the one nearest the German front line is worth 4 to the Germans and 1 to the British (that is clear I hope)
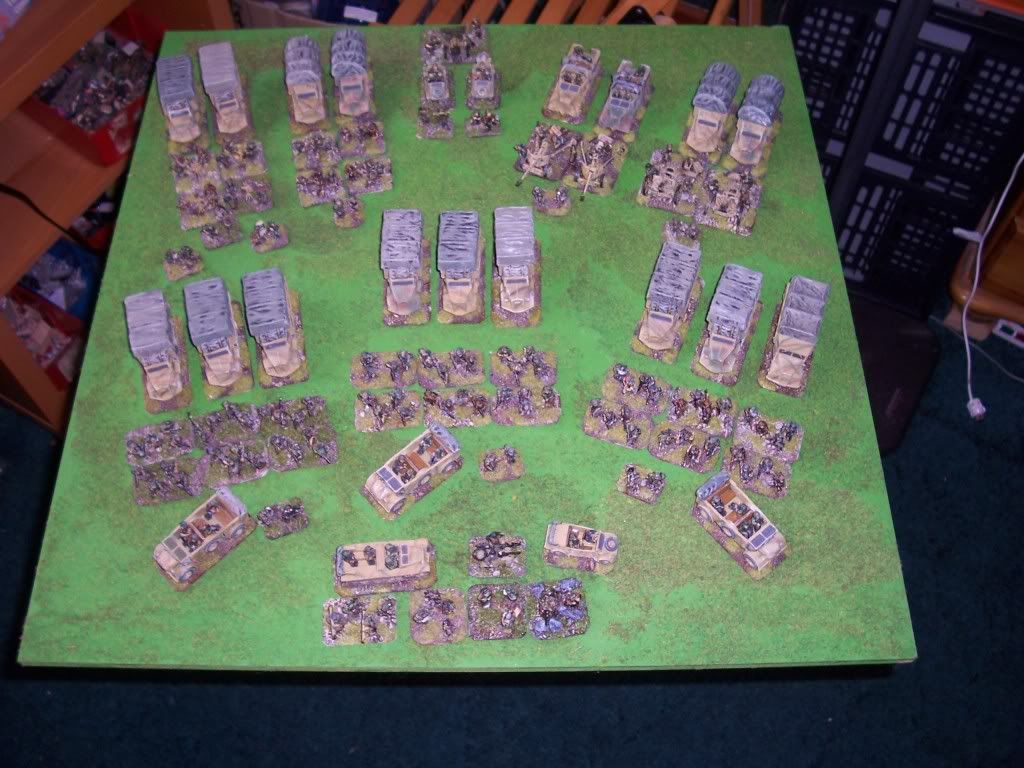
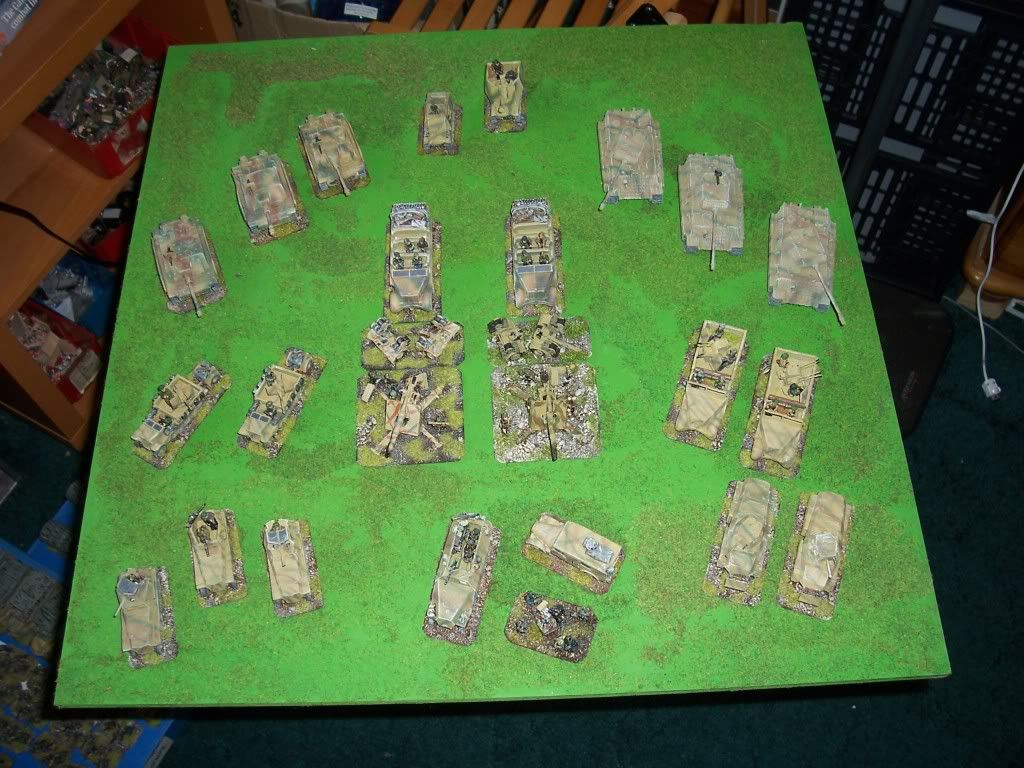
The Germans had 4 units deployed and 4 in ambush. This left 8 in reserves.
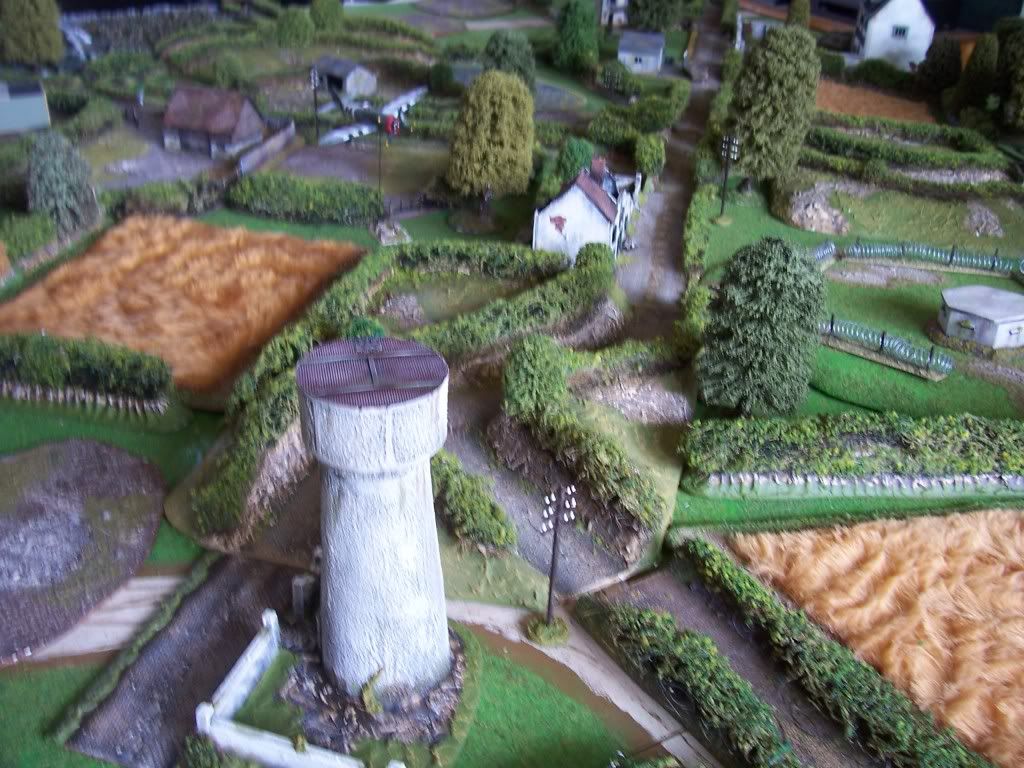
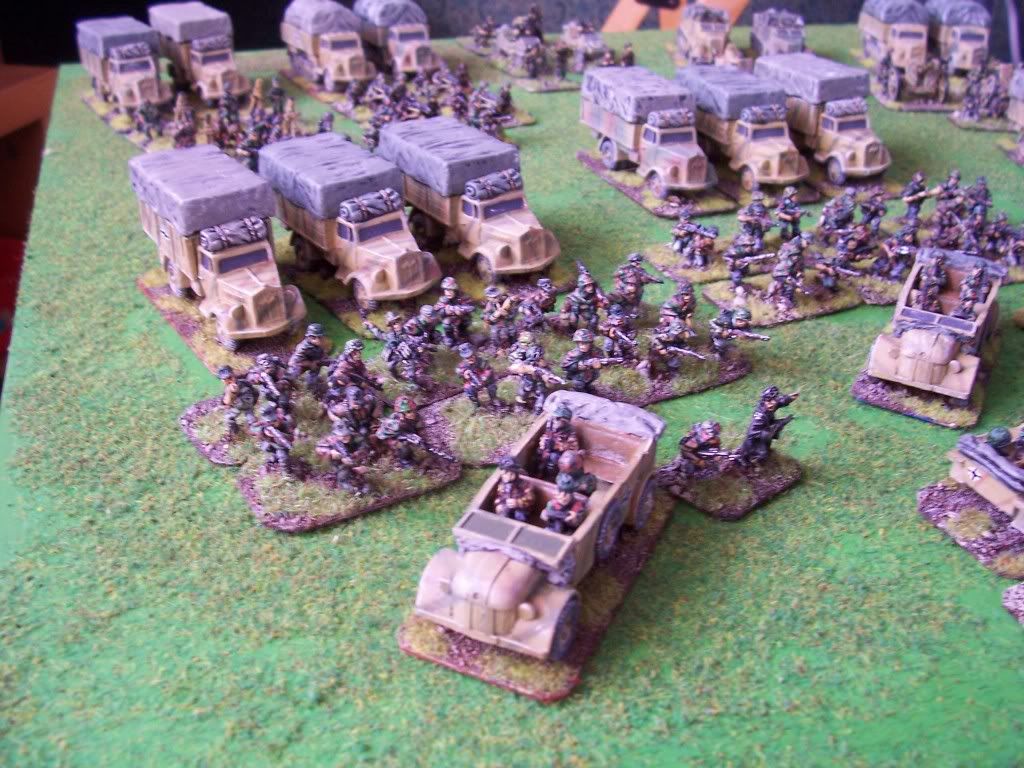
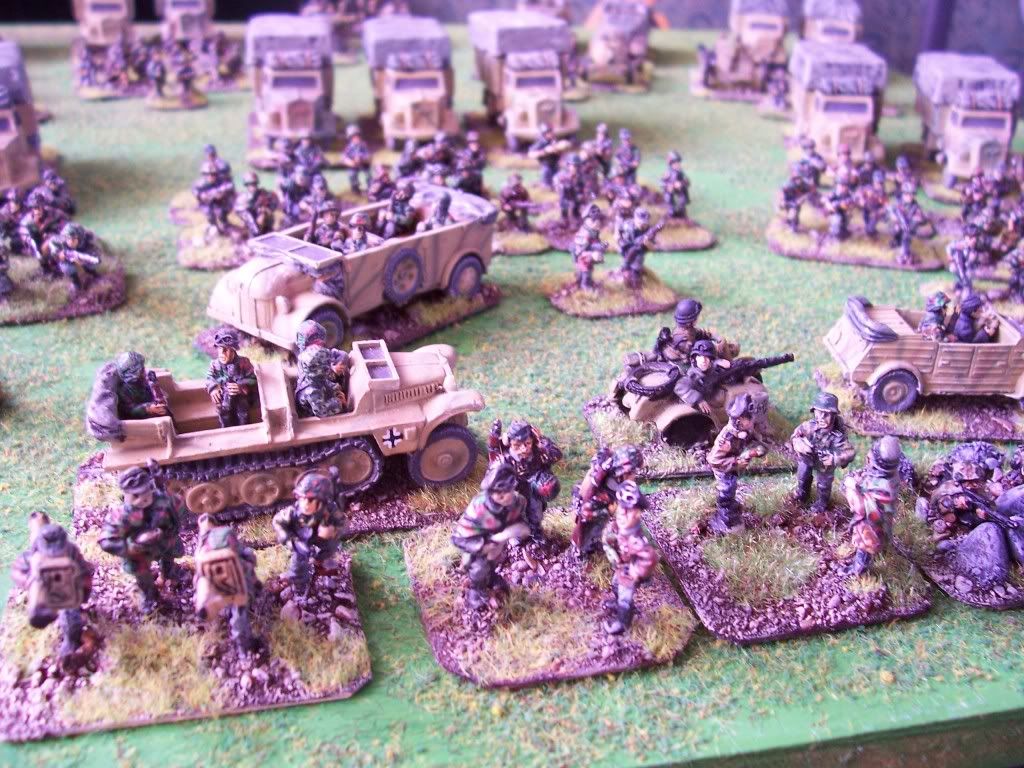
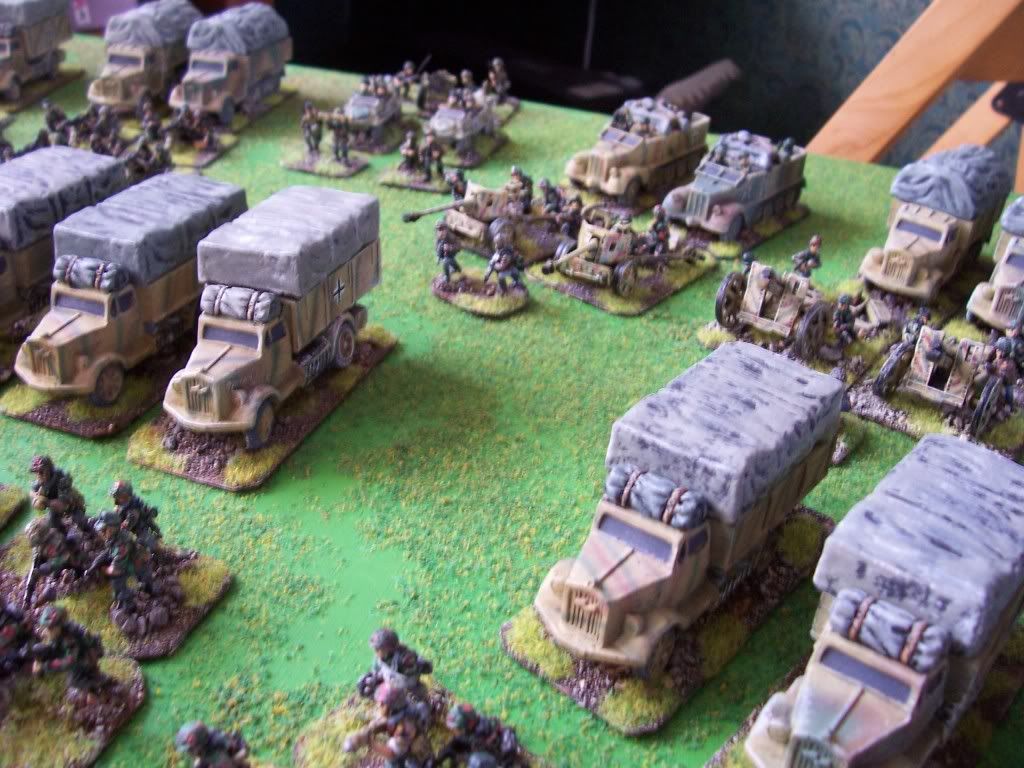
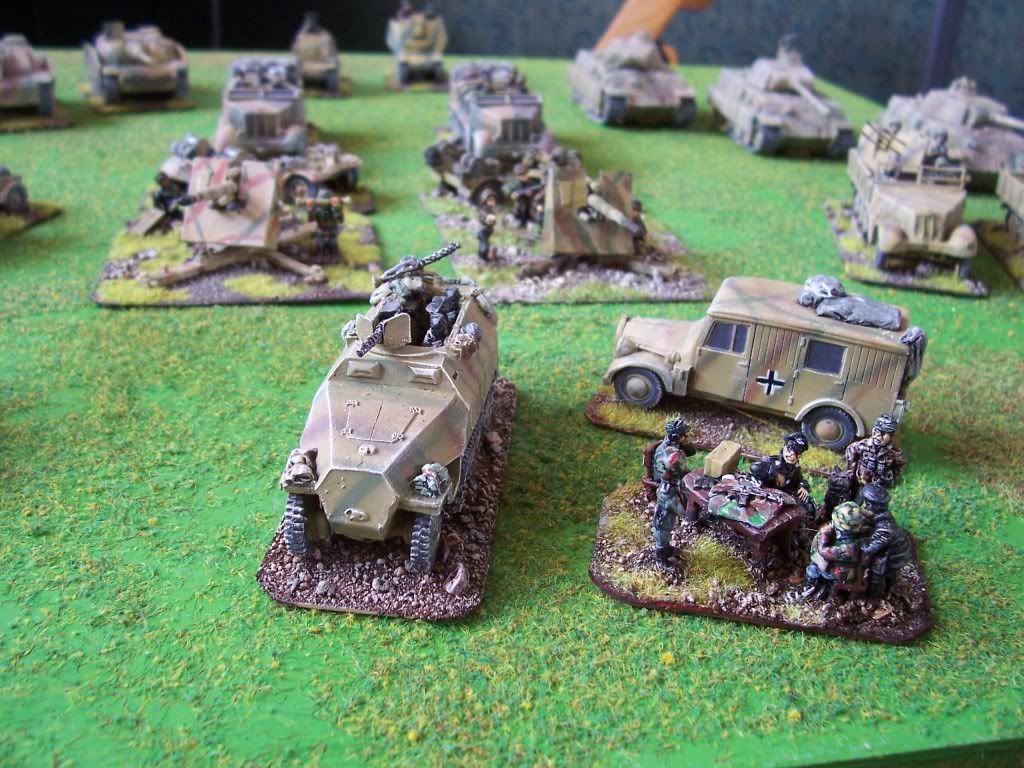
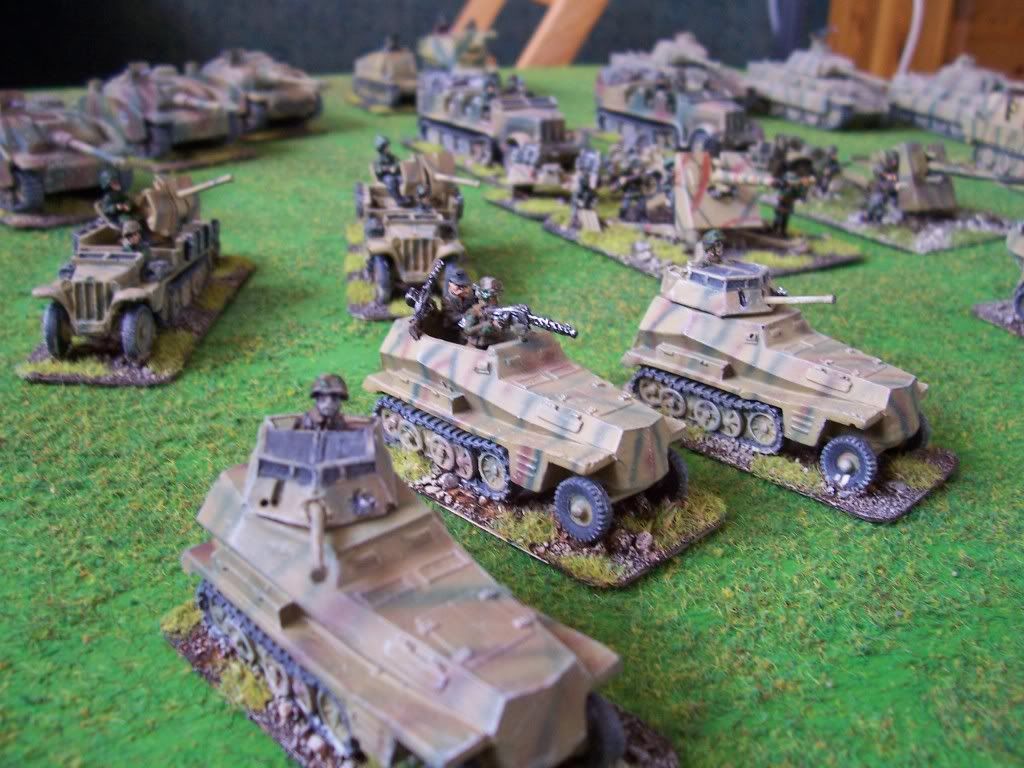
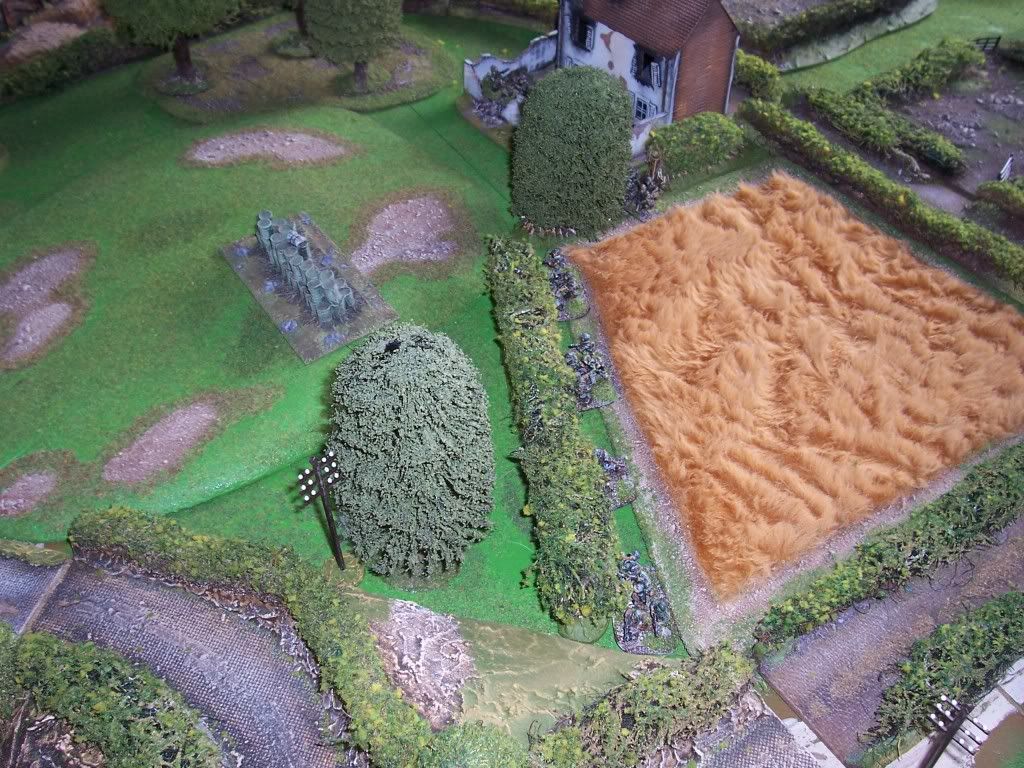
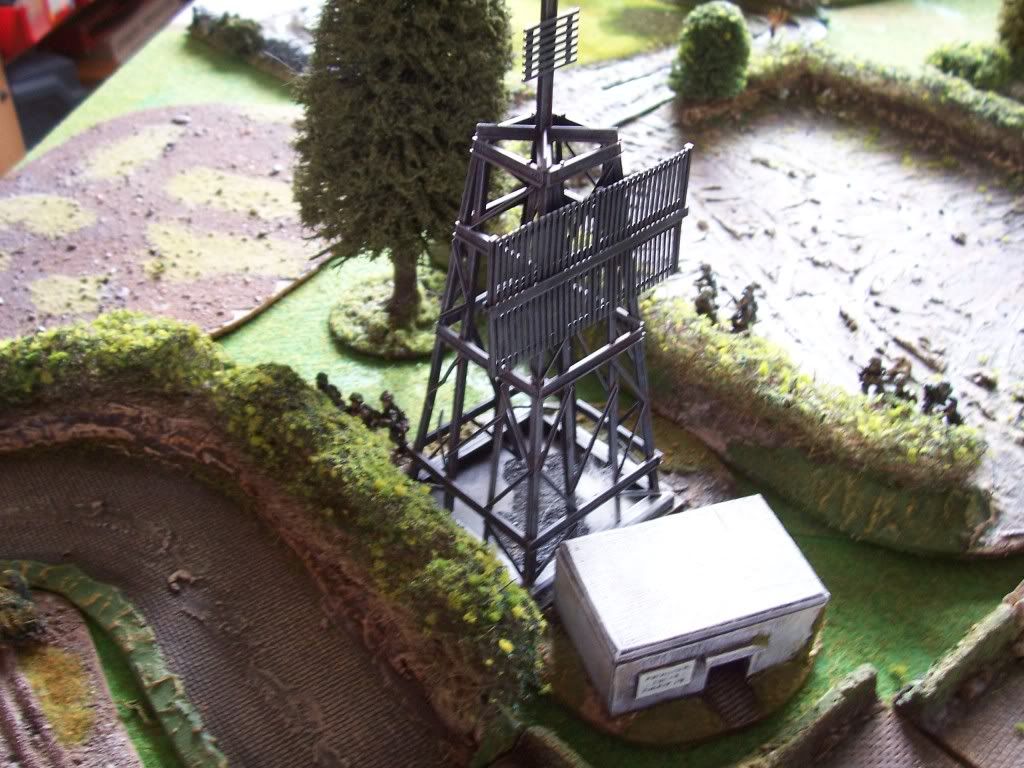
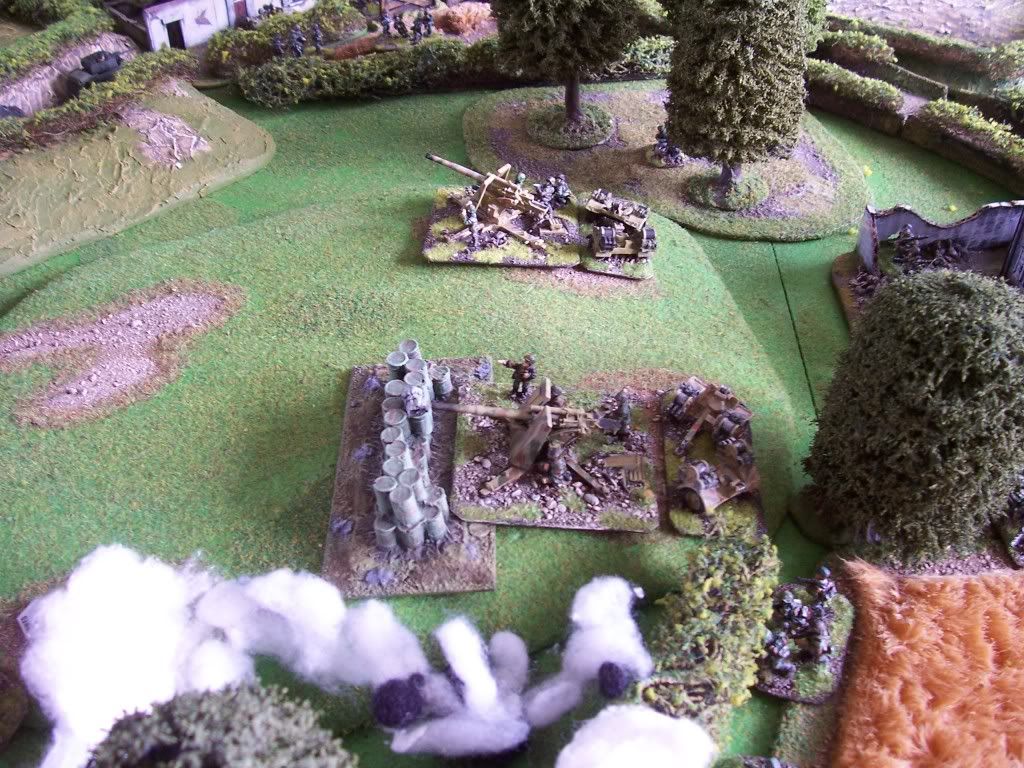
On table were a couple of Panzer Grenadier platoons, and the 105mm Artillery and the Nebs. (Note these are off table only the observers on) One of the Neb observers was in the water tower.
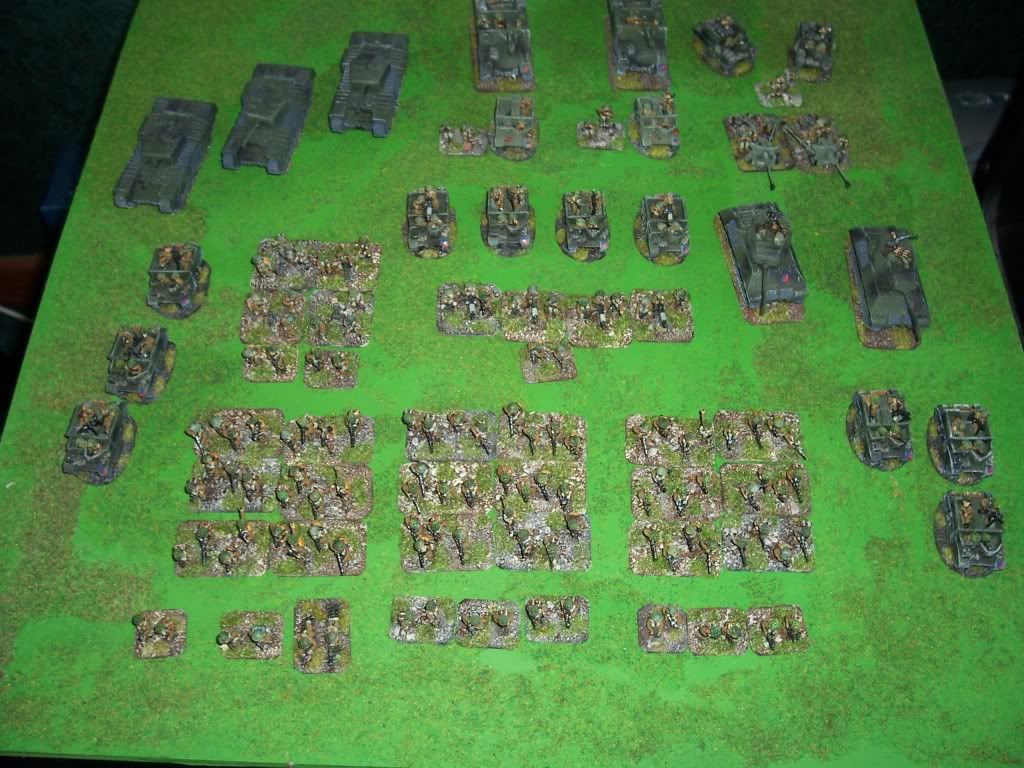
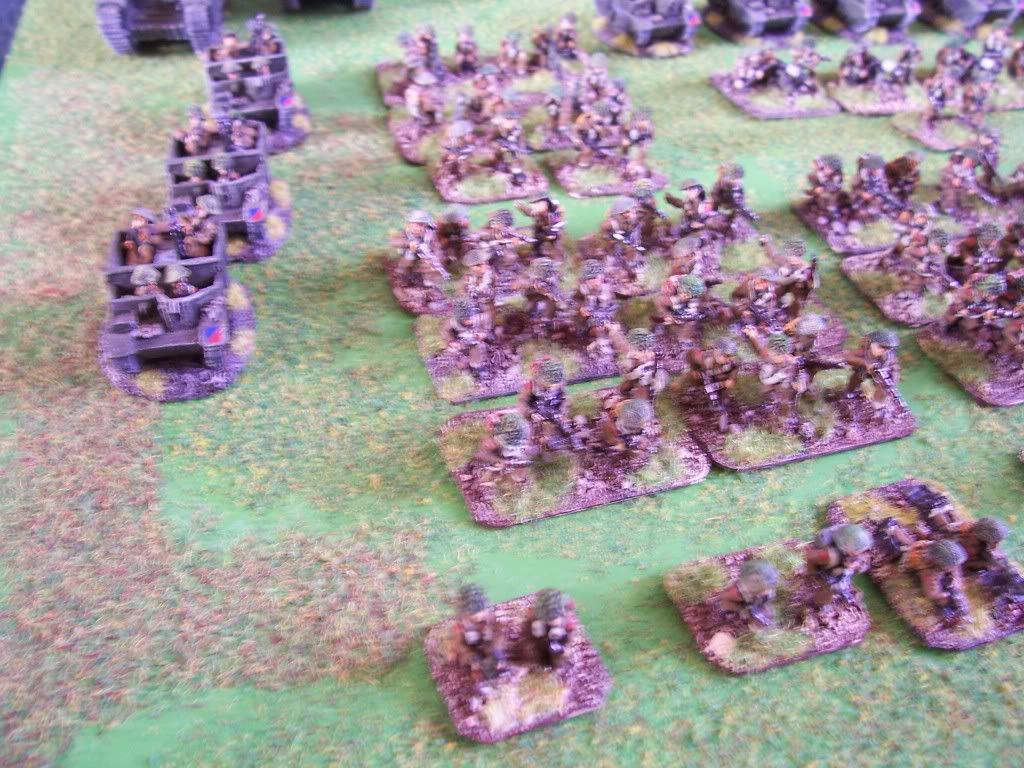
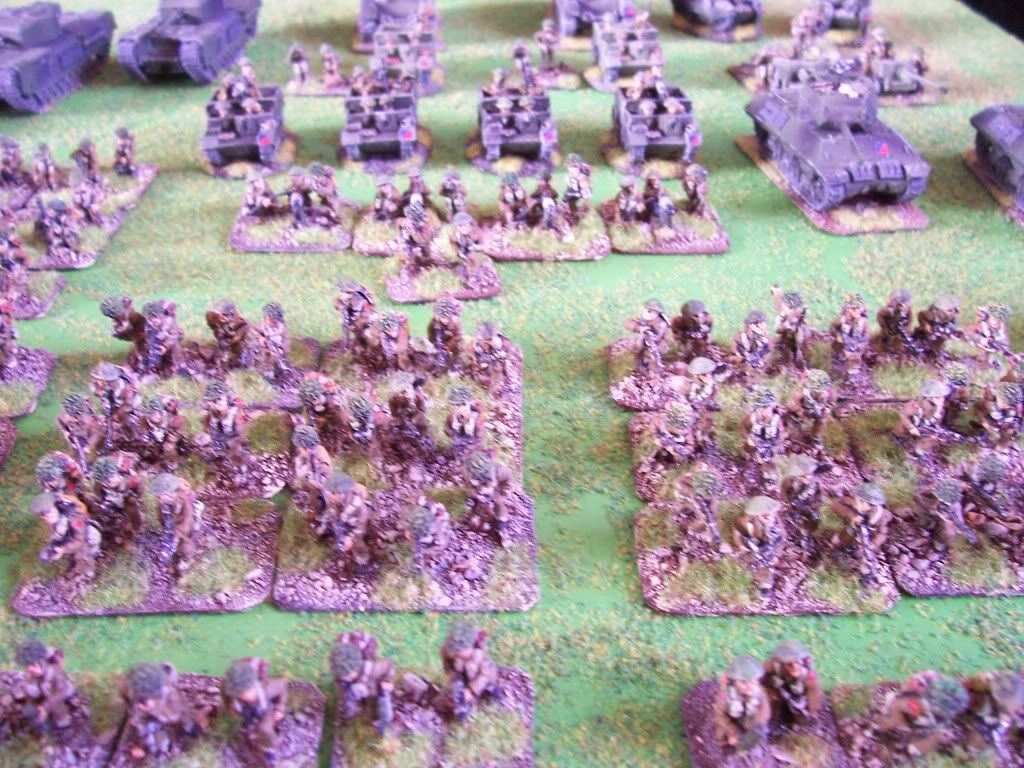
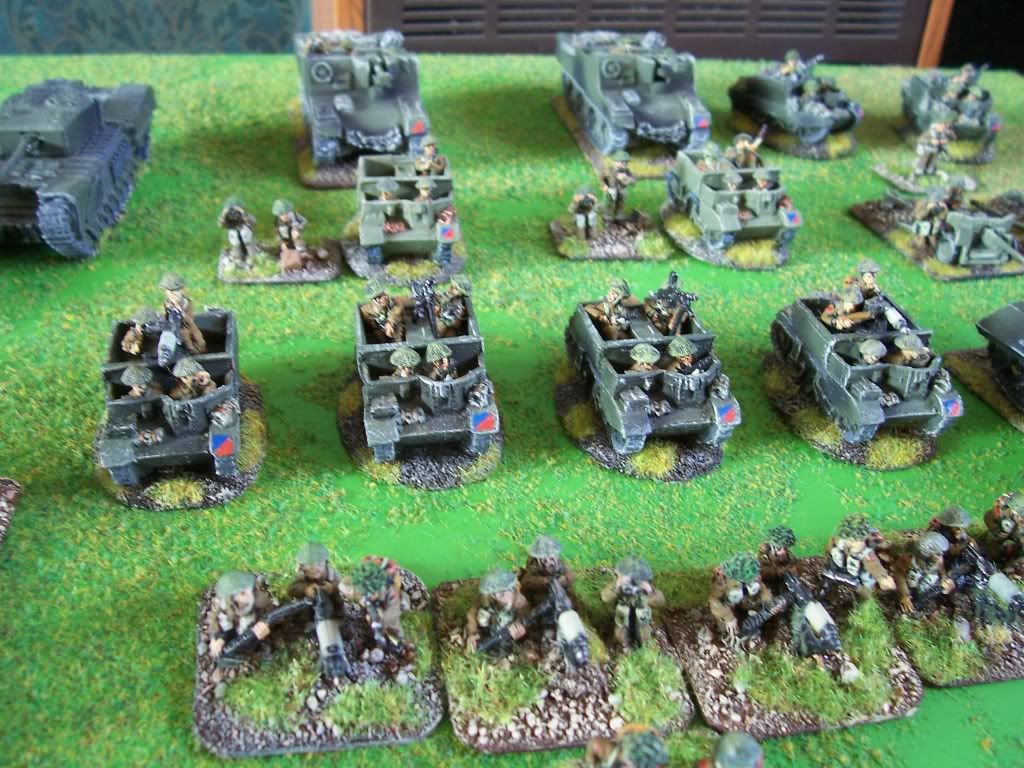
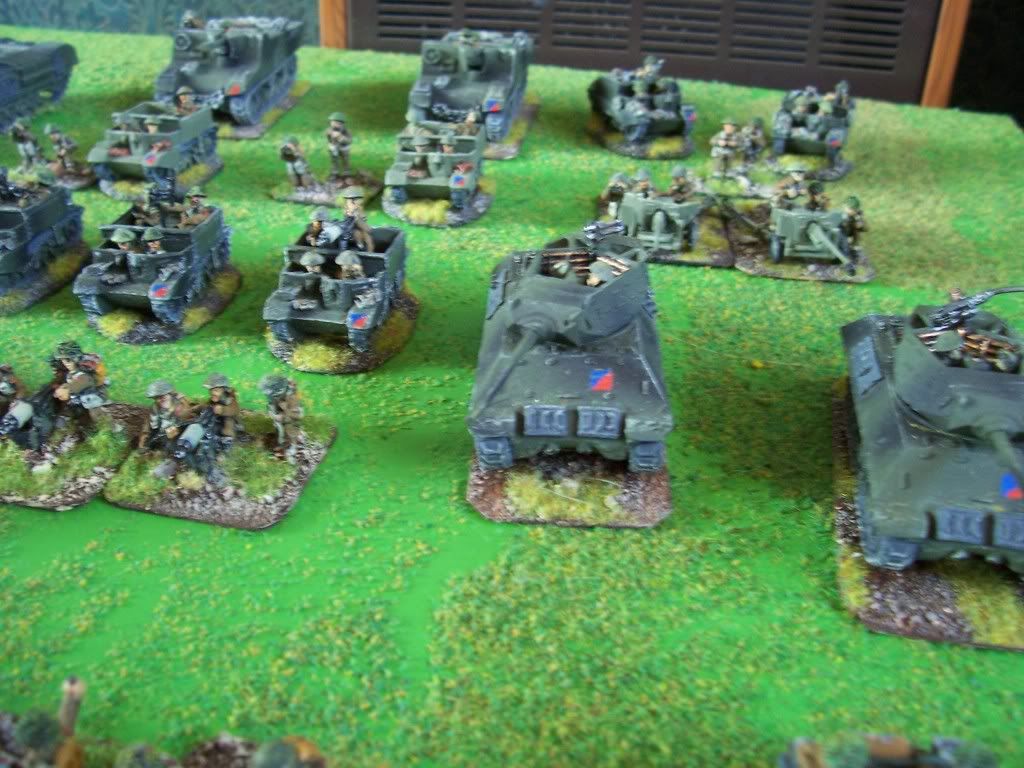
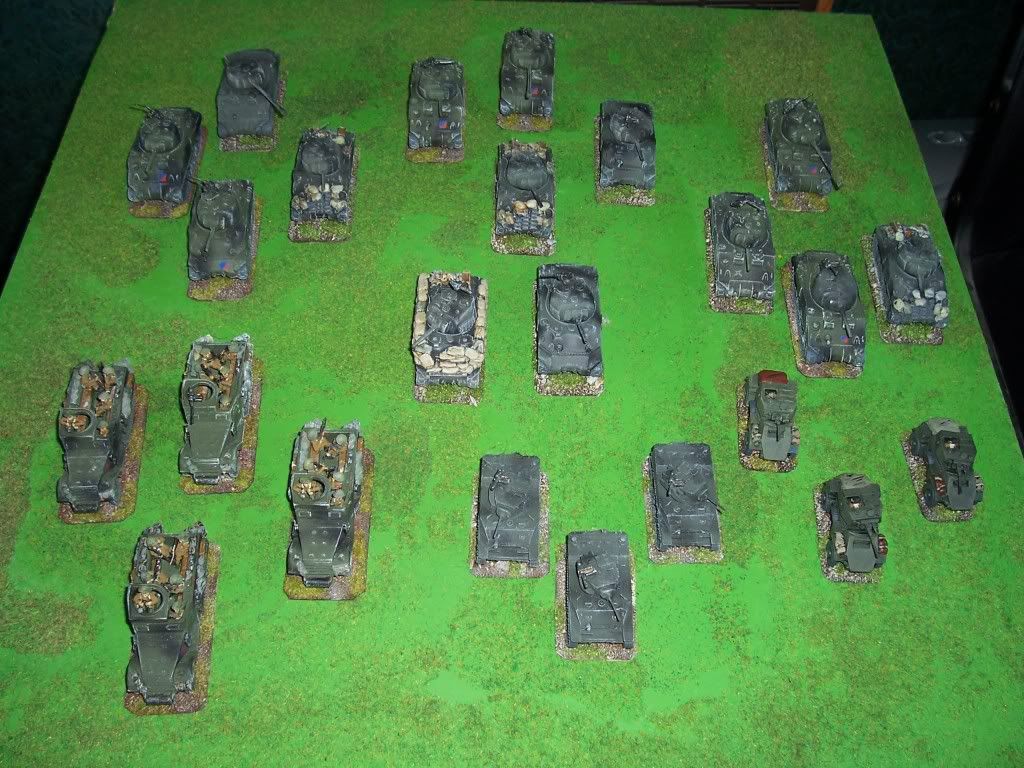
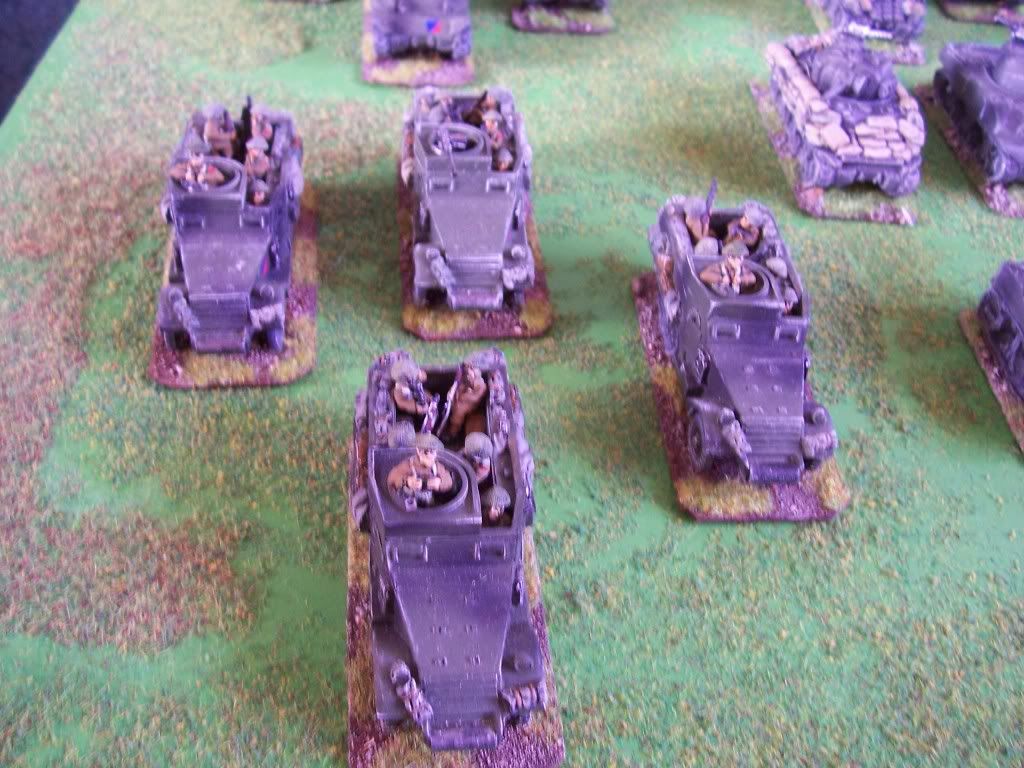
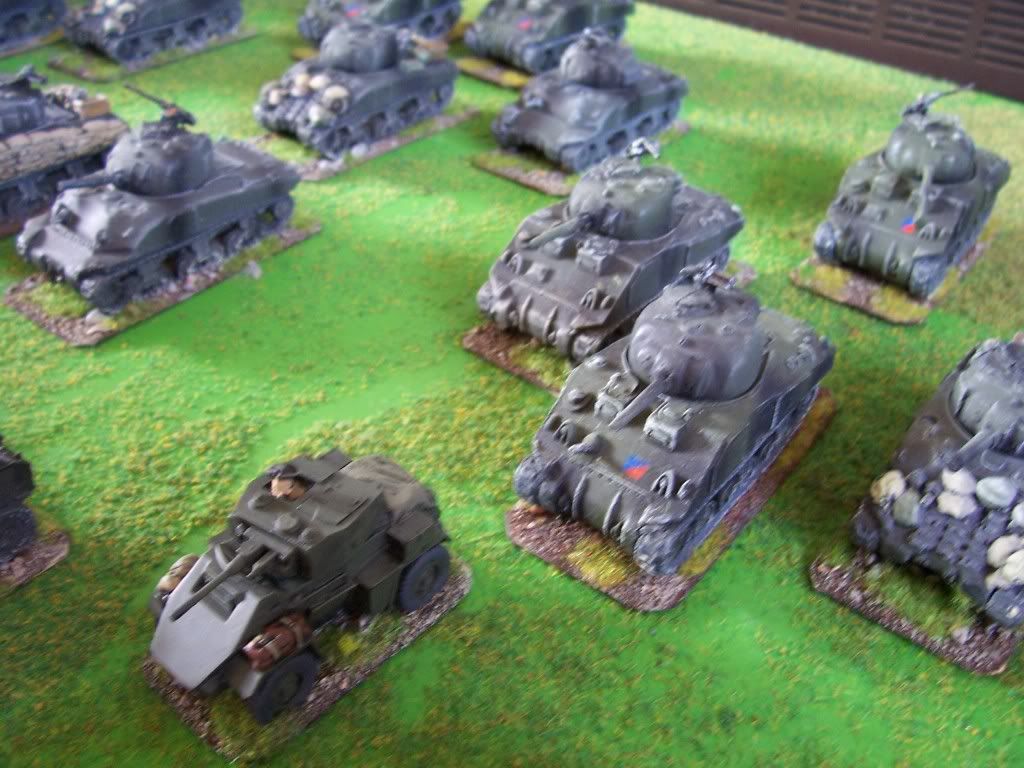
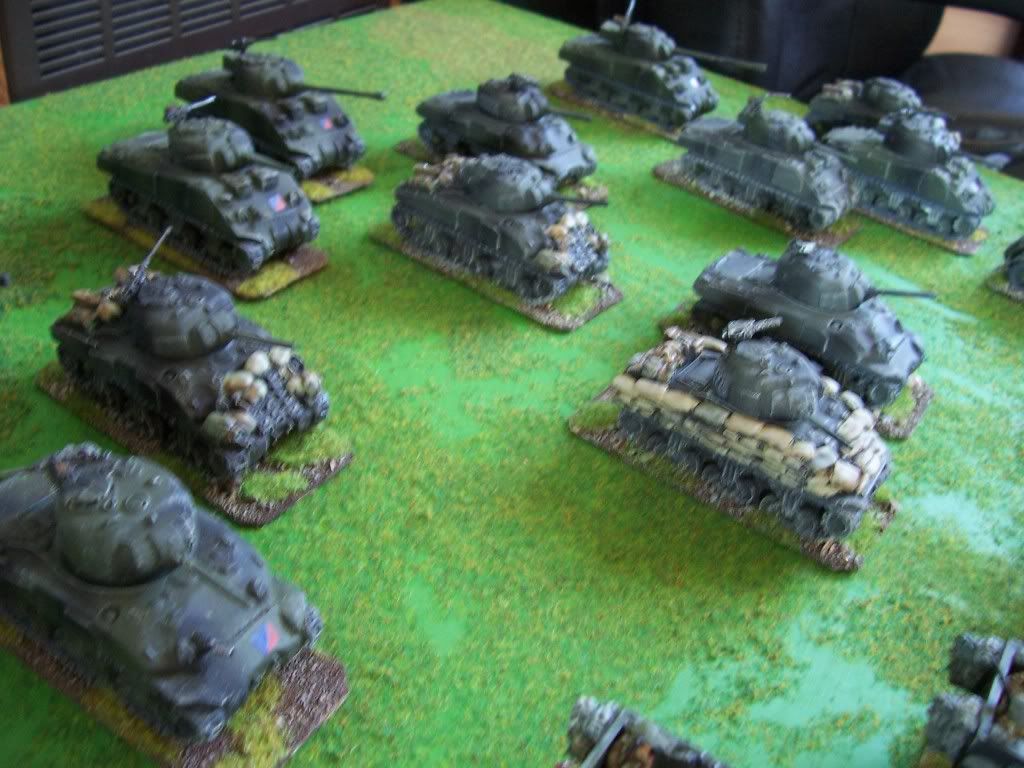
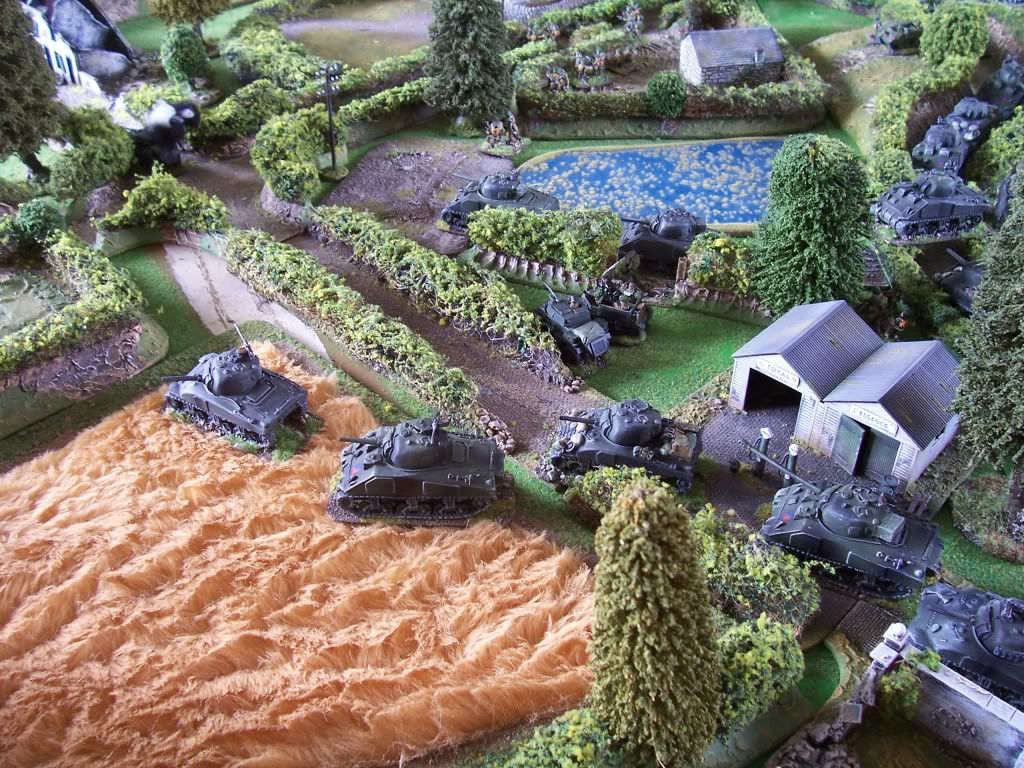
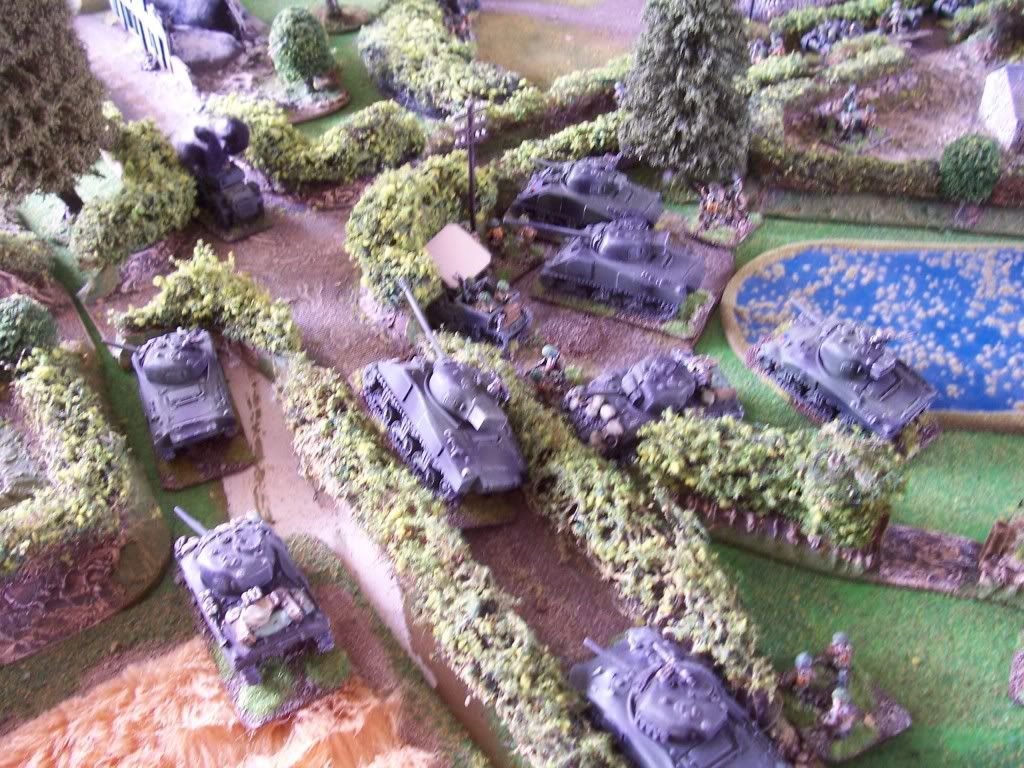
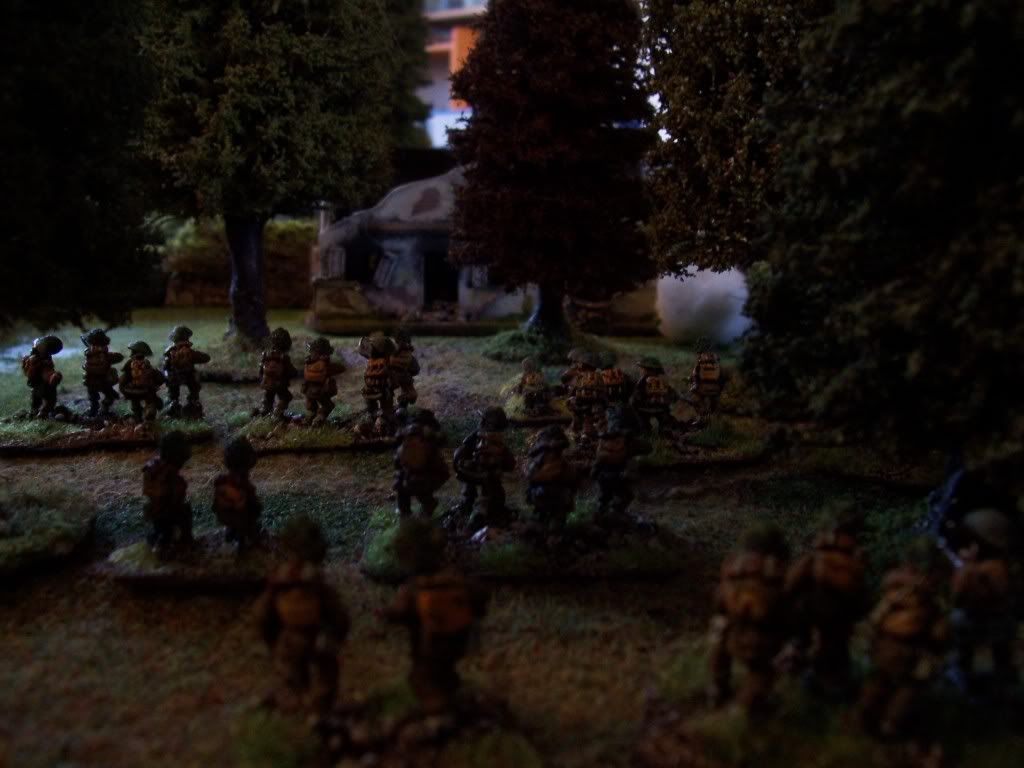
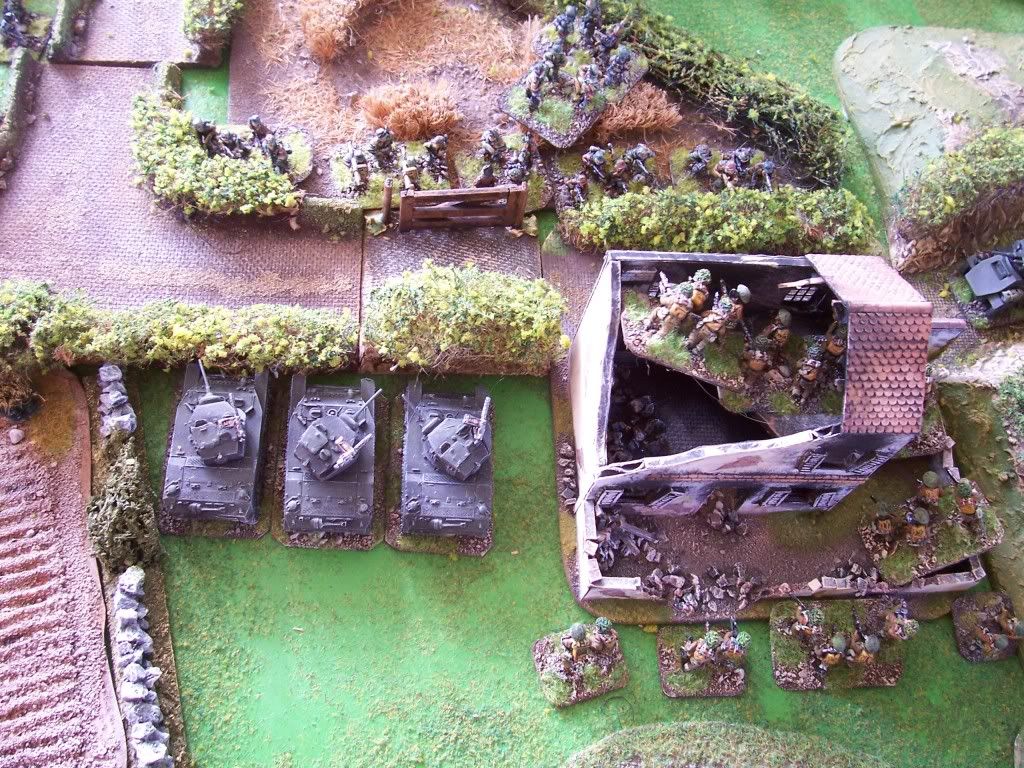
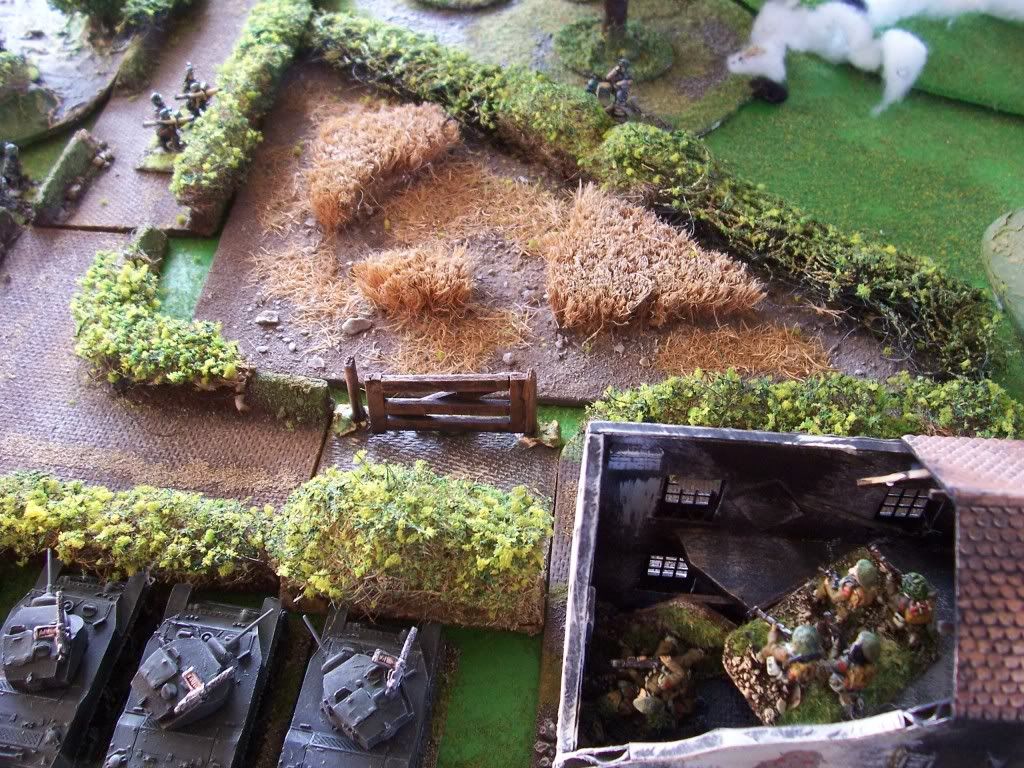
The British then deployed. 2 squads of infantry to go up the centre right and one up the left. The right one supported by the scout carriers, HMG’s, the Churchill’s, M10’s and the 6 Pdrs.
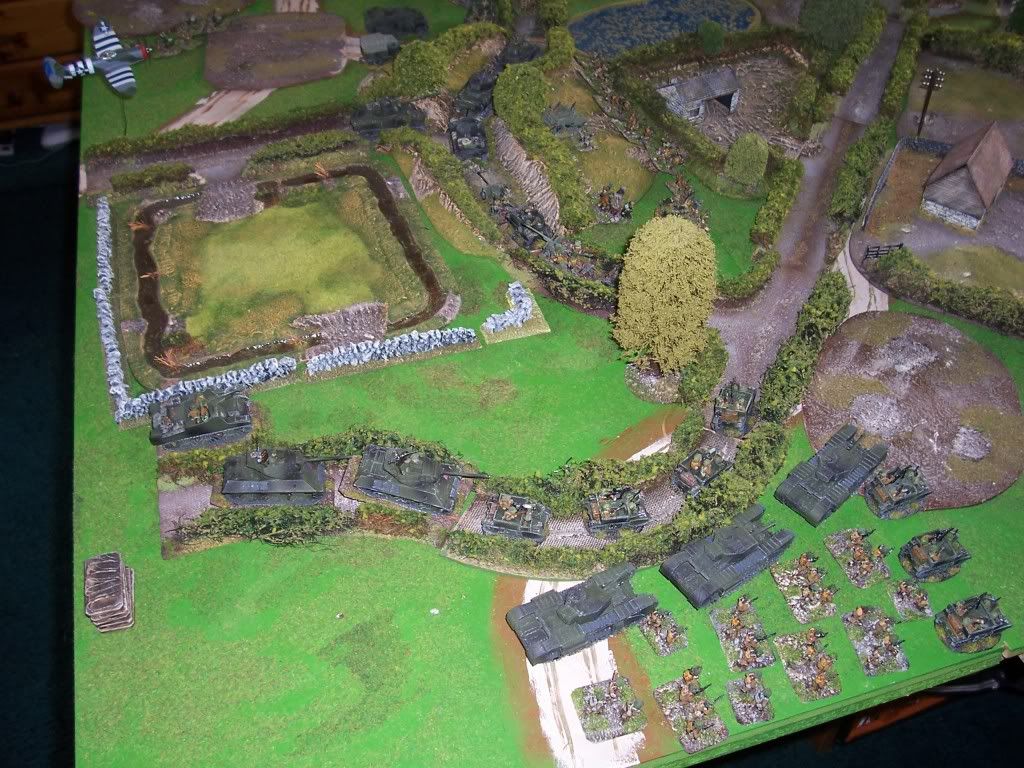
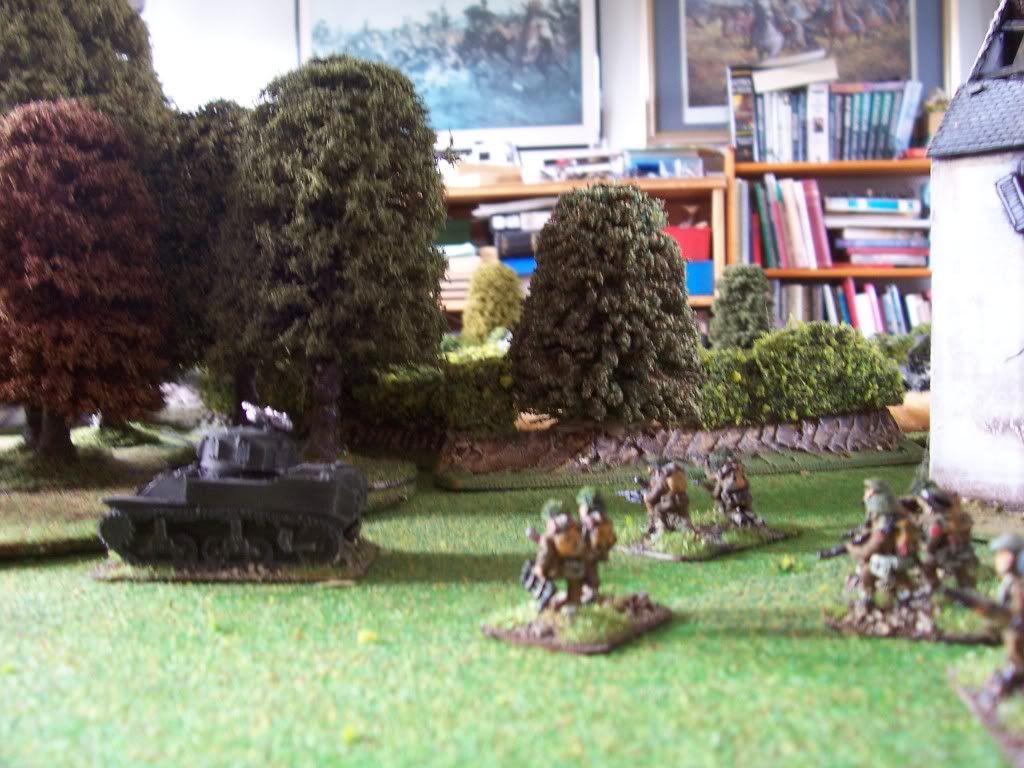
The ones on the left supported by the Stuarts and the mortars.
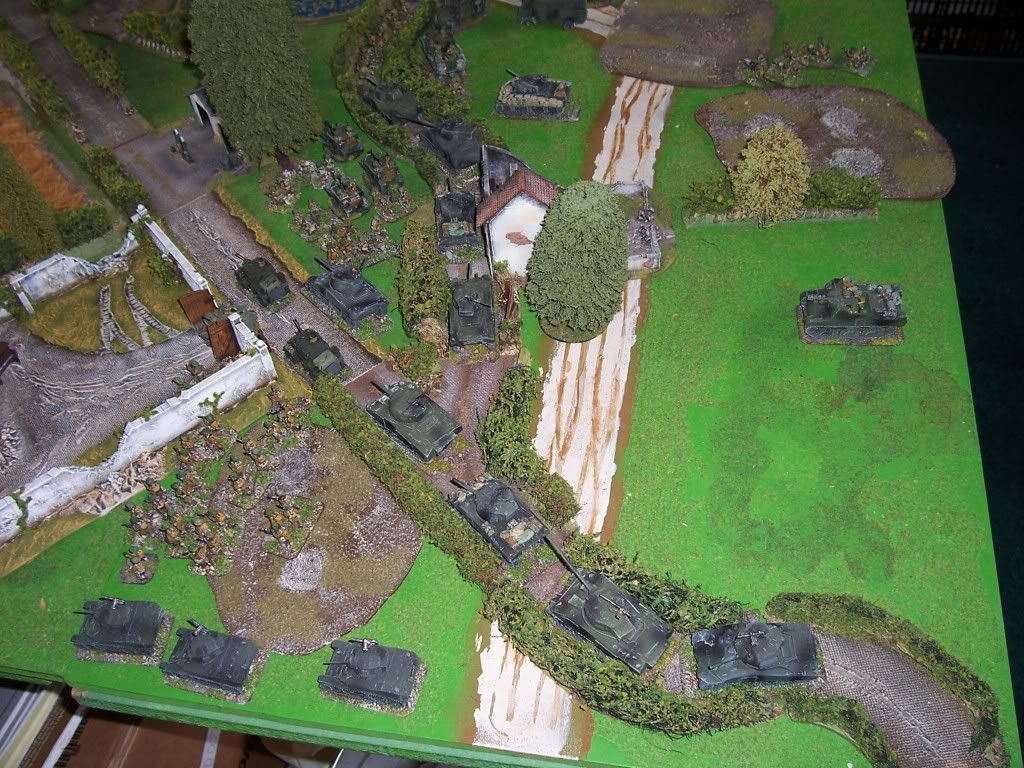
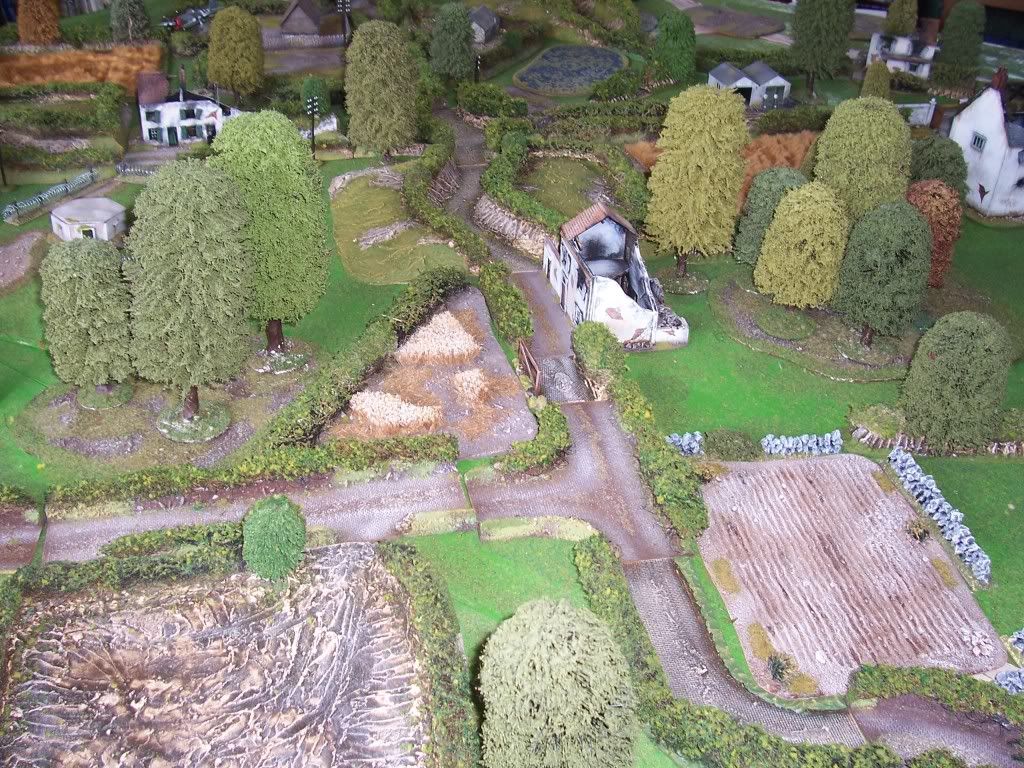
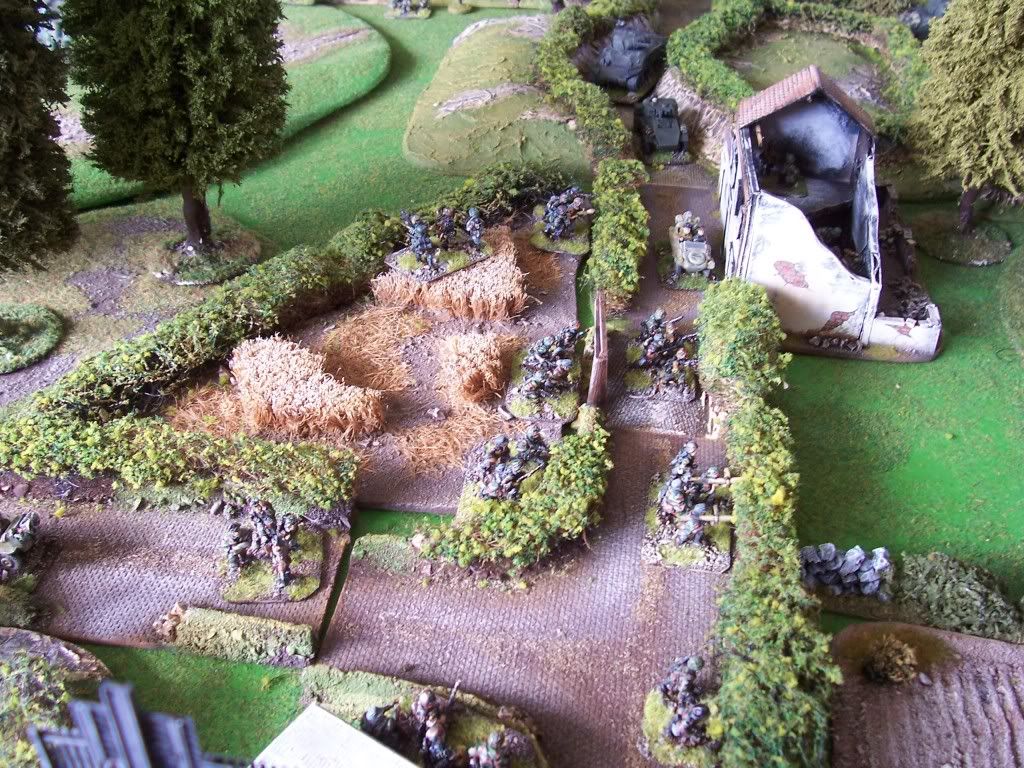
I the middle the Daimler armoured cars would rush up the roads to push back any ambushes. Whilst a platoon of pioneers would open gaps in the hedges to allow the tanks to move across country.
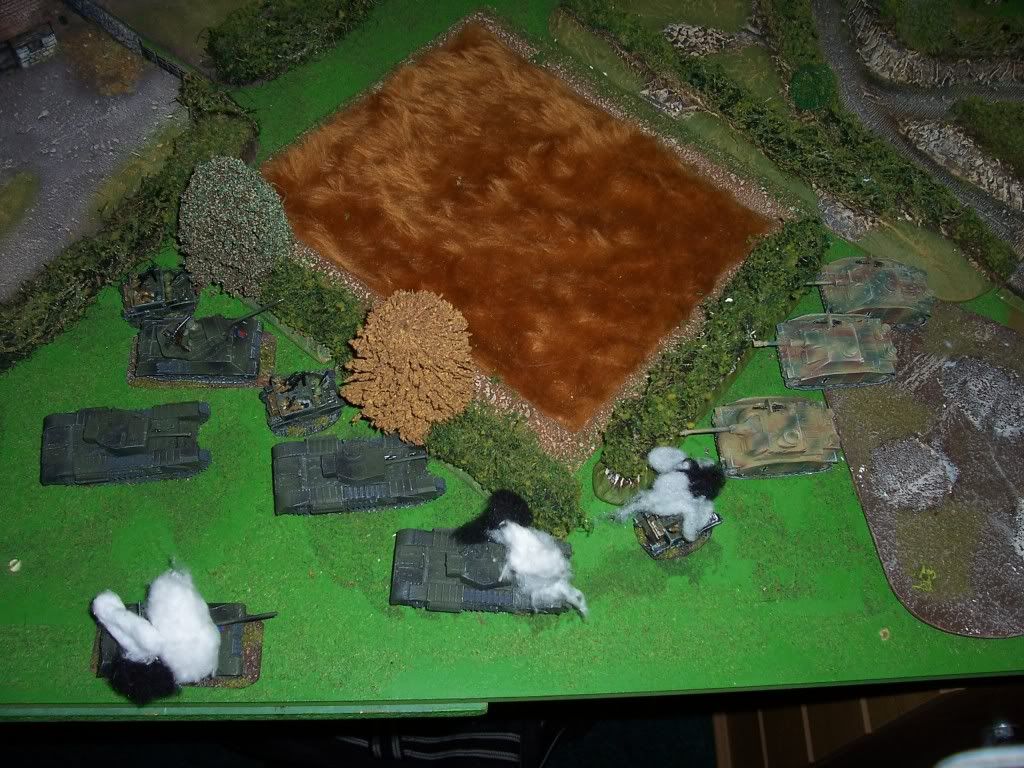
So with that the British turn one started. The pioneers blew a gap in the bocage and the tanks went through. The armoured cars raced up the road and the scout carriers pushed forward
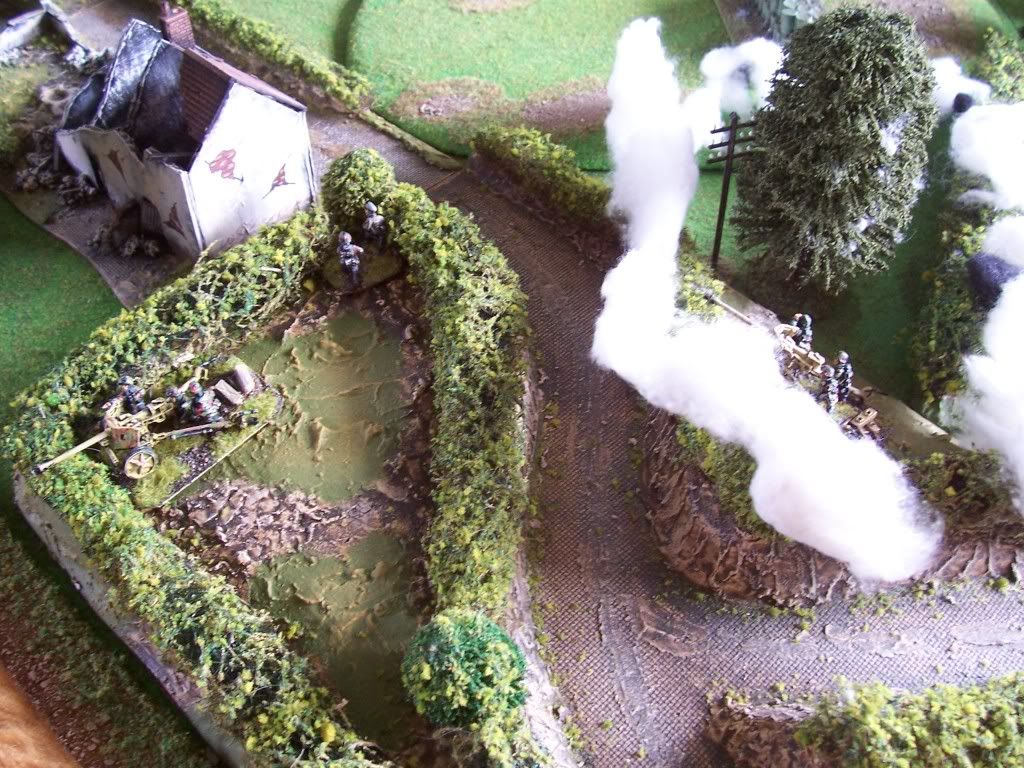
German turn 1 saw no reserves; The Pak 40’s deployed from ambush and shot at the Churchills and the armoured cars. Result 1 armoured car burning in the road and one Churchill bailed out. The Nebs hit the gap in the hedge where the tanks were crossing, killed half the pioneers and pinned them and bailed out a tank.
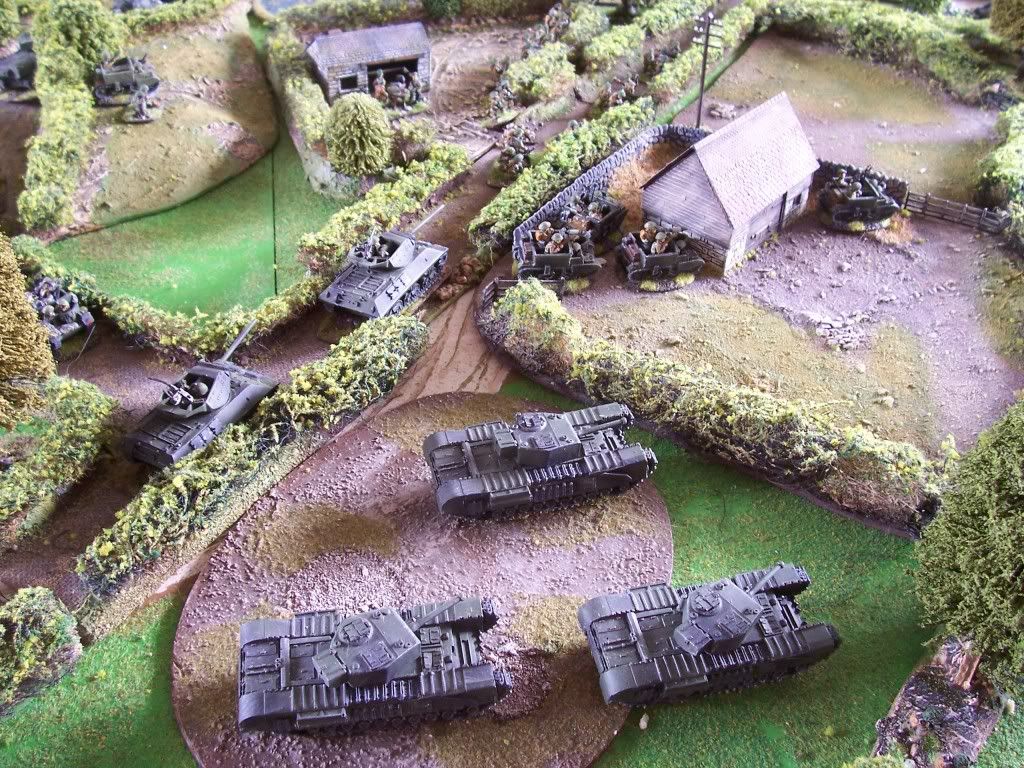
British turn 2 the Infantry and Stuarts advanced up the left side. The tank refuses to bail in and the Pioneers stay pinned. Bit of shuffling goes on now. On the right the infantry continue to advance and the Churchills trade shots with the Pak 40. The other pack is hit by smoke and the then the 25 Pdrs blow up the one the Churchills had missed.
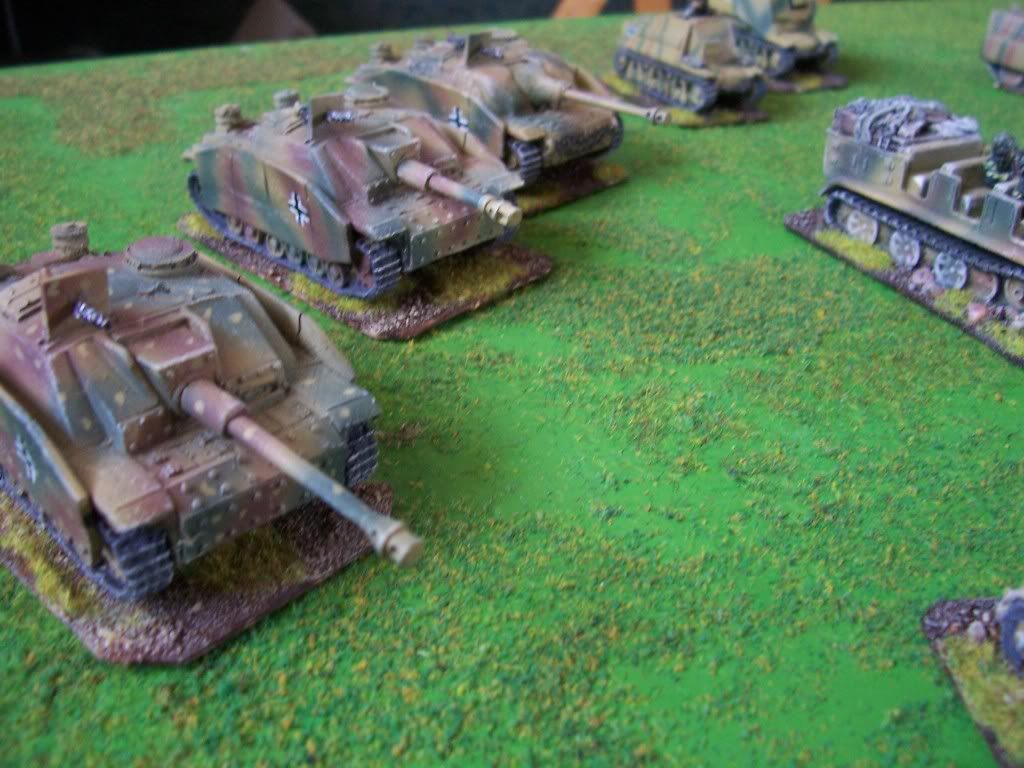
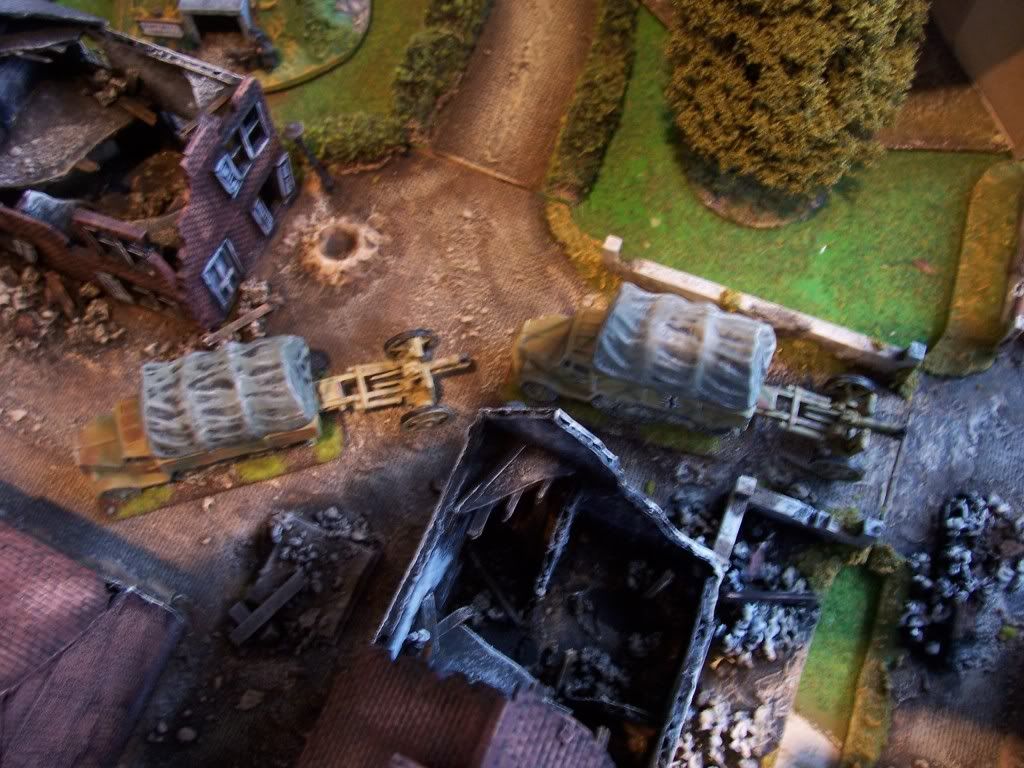
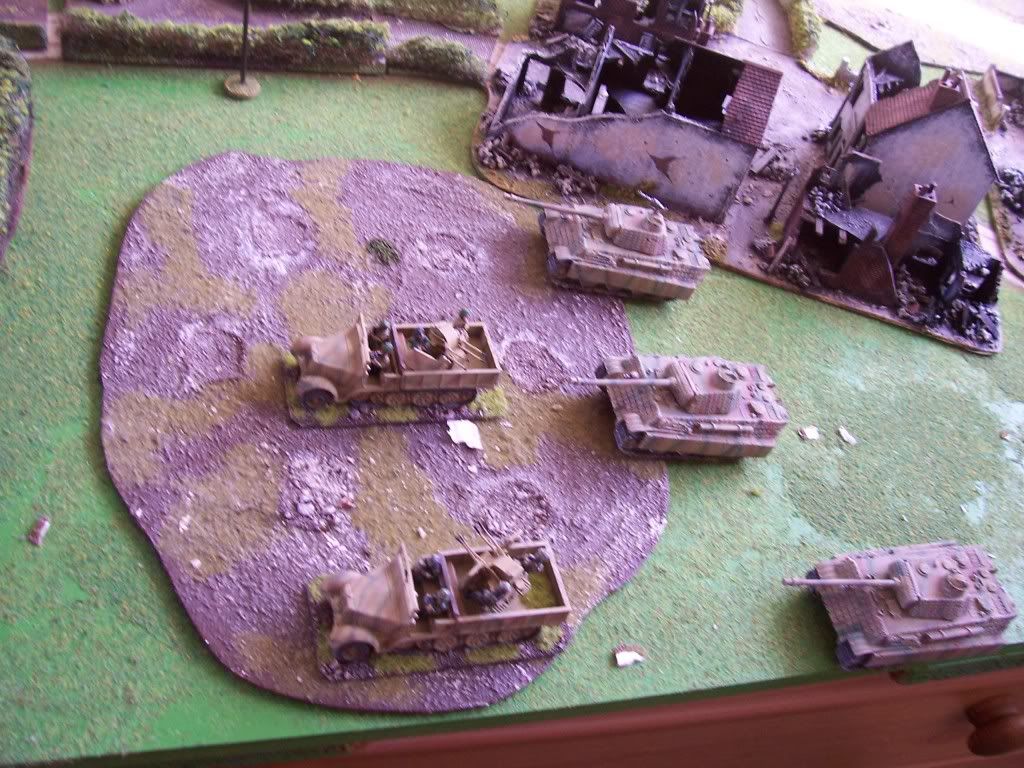
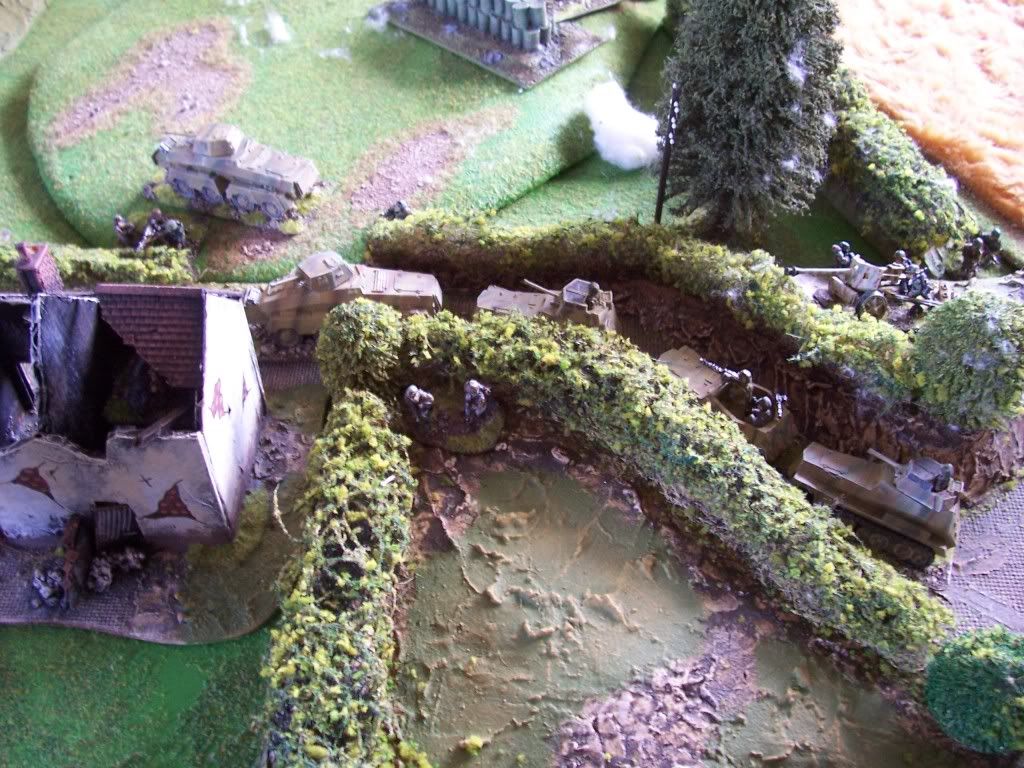
German turn 2. 2 reserves turn up and Mark brings on the StuGs and 150mm infantry guns. As no one is in range they double up the board, The StuGs across country and the 150mm through the village.
HMG’s appear from ambush near to the Pak 40’s. The Nebs target the right hand infantry and the Churchills killing a couple of bases. The 105mm stay ranged on the same spot but do no damage.
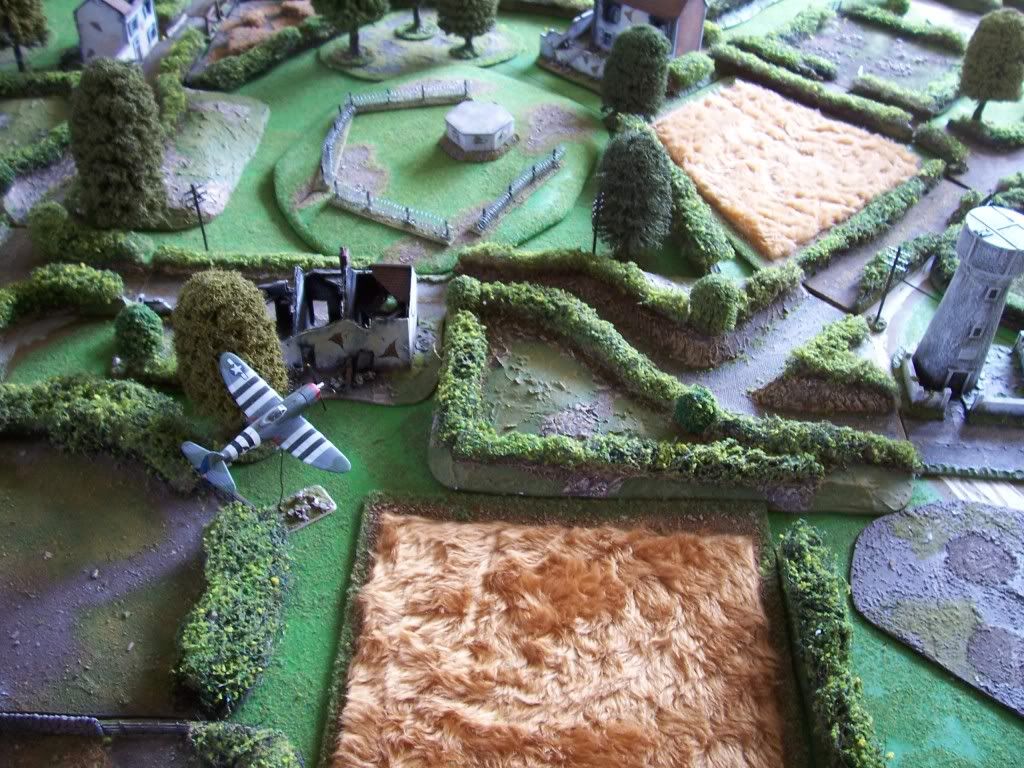
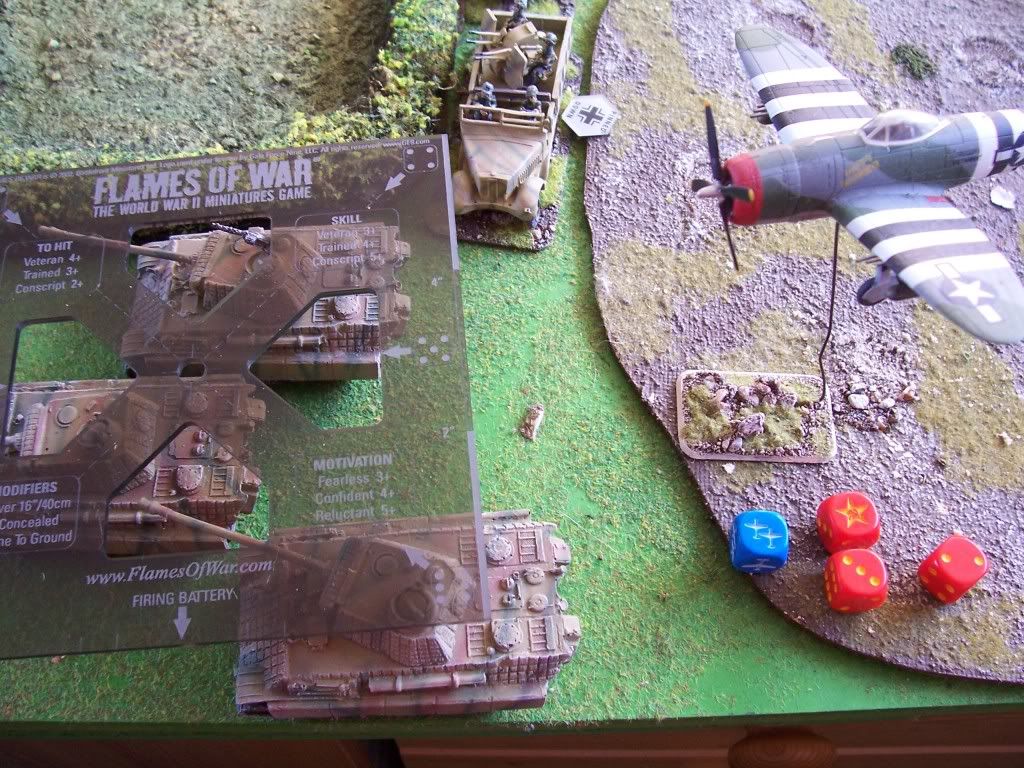
Allied turn 3. 2 aircraft turn up and target the 150mm in the village. The Churchills move towards the StuGs and bail one out. The infantry and the HMG’s in the carriers trade shots with the HMG’s and pin them down. The Stuarts on the left wait for the infantry to catch up and in the mean time try to winkle out a German observer in a building (eventually killed by a 75mm shot through the side of the building but that is later) The tanks in the middle mill around a bit aimlessly the pioneers stay pinned and that stops them from blowing up more bocage. The artillery laid more smoke on the PaK40 and the aircraft does nothing (to be repeated through the game.)
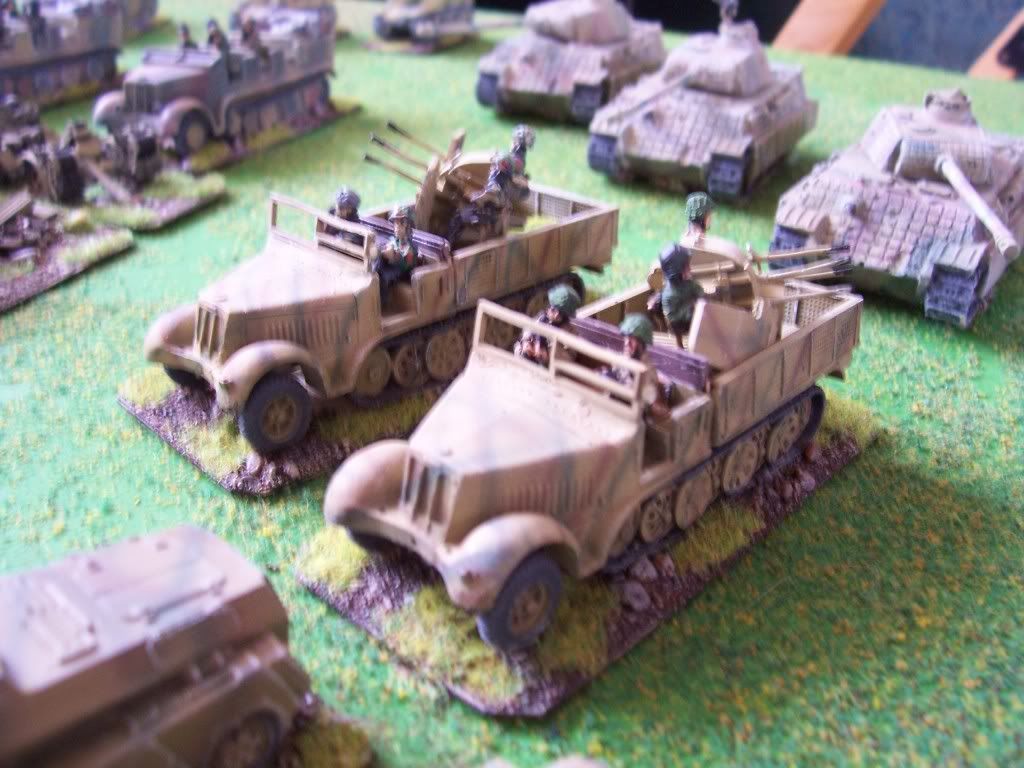
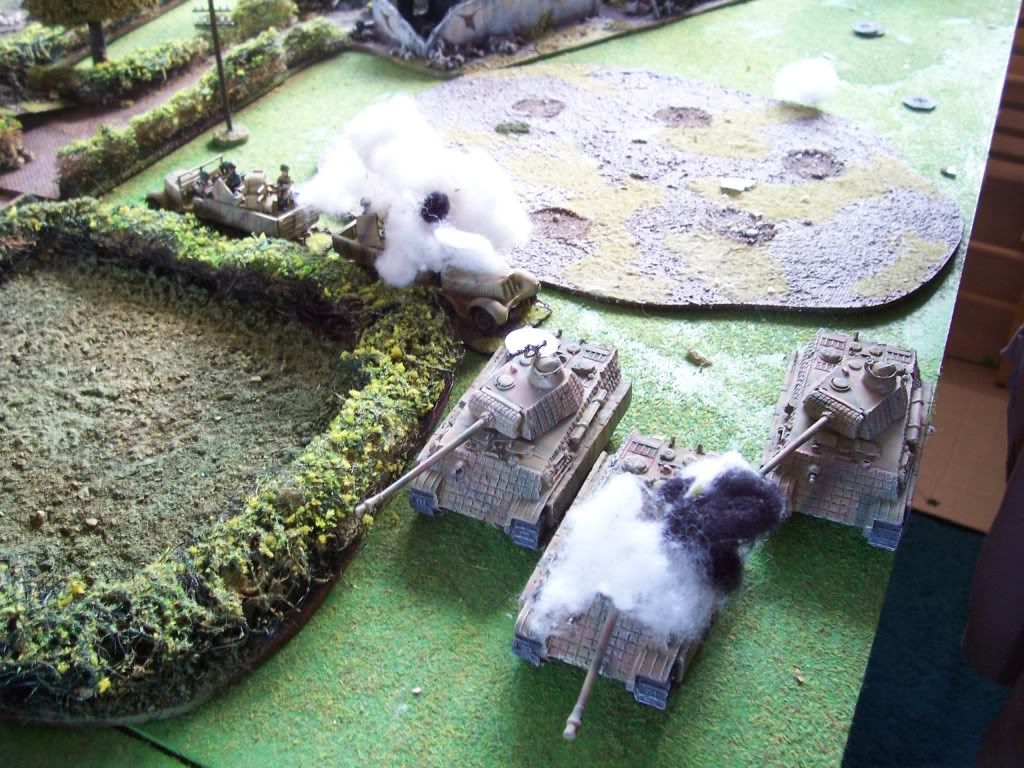
German turn 3. 2 more reserves this time, a couple
of quad AA and the Panthers.
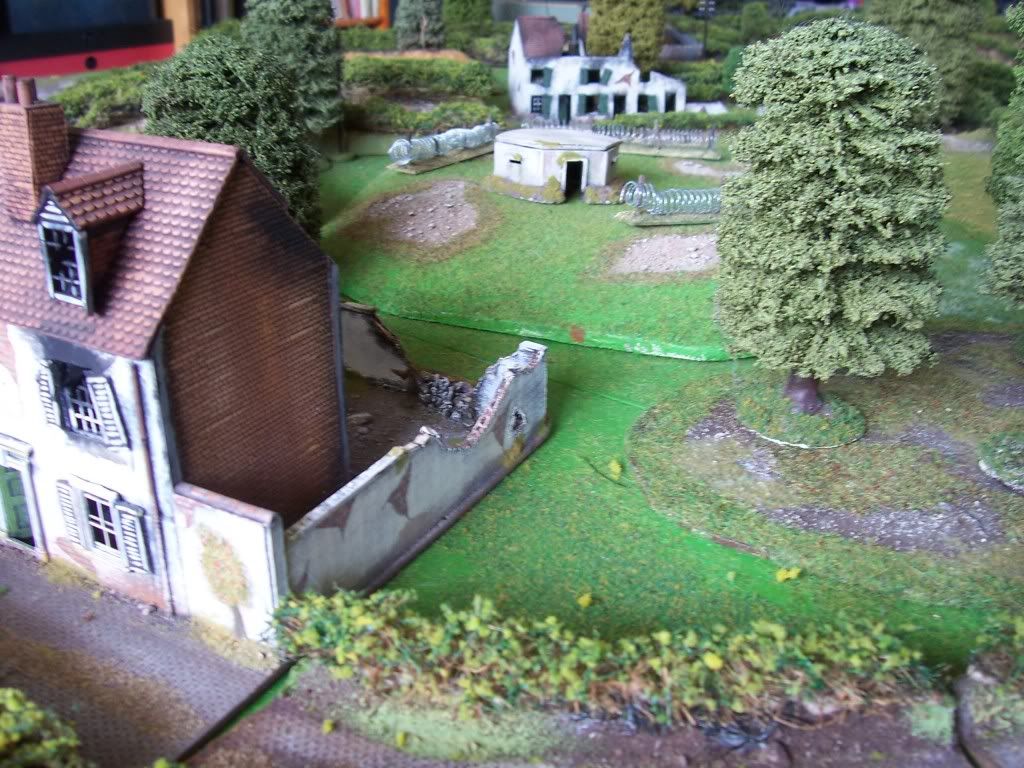
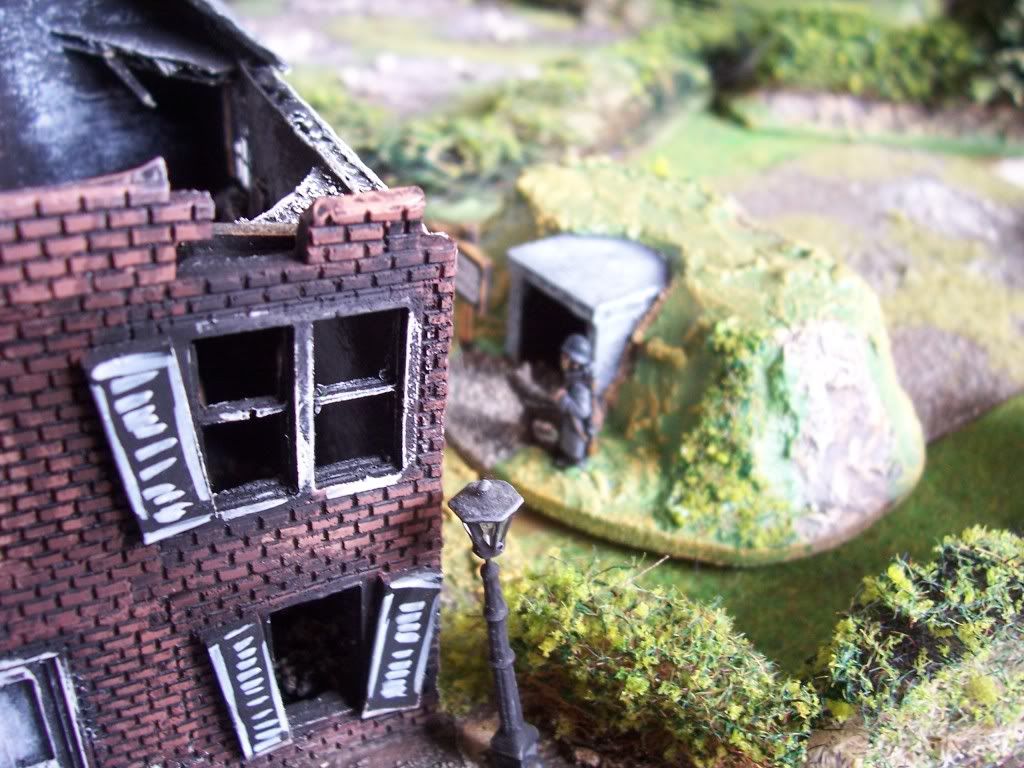
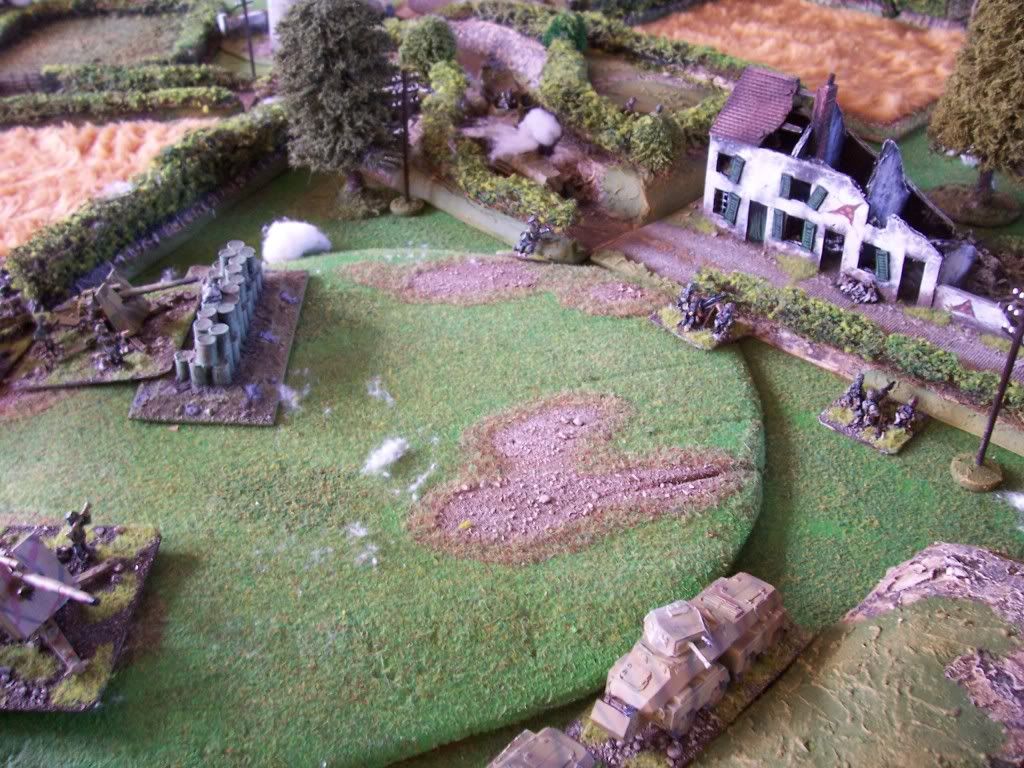
The HMG’s stay pinned and the 88’s and last German platoon ambush turn up. The 88’s on a hill in the middle and the platoon on the German right by the Radar station. Attached Panzershreck included. Sniper also appears in a building by the HMG’s. The Panthers and the AA double foorward. The 150mm move to set up near the house behind the 88’s. The German ambush unit moves across the road to shoot at the Stuarts and then Miss the Nebs kill some more infantry pinning them and the StuGs take out a Churchill. The 88’s shoot and bail out a Firefly and Sherman.

British turn 4. No planes turn up; the pioneers unpin and move forward to blow up some more Bocage. The 2iC tries driving through the bocage and passes. The Daimler drives towards the Stuarts outflanking the Germans on the road. The artillery drops smoke on to the 88’s. Infantry move across the open ground hoping that the HMG’s will stay pinned for another turn. The Daimler and Stuarts open up on the German infantry platoon killing 1 stand. The Churchills and M10’s fire on the StuGs bailing out 2 apart from that nothing else happens.
German turn 5. The 120mm mortars and 20mm flak turn up, the HMG’s unpin (sigh)
Both StuGs bail in. The platoon that took casualties tries to dig in and fails. The Panthers move forward and bunch up the Flak quads move along side them. StuGs advance to exchange shots with the M10s and Churchills. The HMGs fire on the advancing infantry kill 3 bases with help from the sniper and they fail a morale check.
The StuGs and Panthers fail to do any damage. Nebs now want to drop smoke but are reminded they should have done that first so try to kill some tanks and fail. The 105mm kill a two HMG carriers and a HMG stand. In the stormtrooper move the StuGs pull back from the hedge the German squad in the road fails its test and the Panthers fail their roll (Ha Ha)
British turn 5. 2 Aircraft turn up and head for the Panthers. British Infantry on the left move forward to assault the house. Pioneers make a gap in the Bocage. A Sherman hooks up the Daimler in the road. The Churchills and M10 continue dancing with the StuGs. Basically no damage to the StuGs. The HMGs are targeted by the carrier HMGs and at last killed, the infantry assault into the house, more smoke on the 88’s, a couple more bases of the German squad in the road die. The Artillery range in on the panthers and 1 of the Quad AA and pins the AA, So the 2 aircraft fly in and the AA misses both of them, right now for the Panthers, the aircraft ranges in first time gets all 3 Panthers under the template and does nothing, nada, niche, nil etc.
German turn six and the last reserves turn up. 2 units of Reece.
The platoon in the road move back to shoot at the British foot in the building. The Panthers and StuGs move forward to finish off the Churchills and remaining M10.
The Nebs and 105mm drop a smoke barrage across the British front line stopping the British observers seeing the 88’s. All the Churchills and the M10 die. The British foot in the building survive everything the Germans throw at them, but become pinned.
I will run through the last few turns quickly now. The British infantry on the left unpin and with the help of the Stuarts and Daimler pinning down the Germans assault and drive them back before retreating into the house. The following turn the Germans shoot at them again and they lose a couple of stands. Then they leave the house to assault towards the Radar station but it is to far they are shot at lose some more bases and break.
The Shermans try to break out up the roads but are stopped in their tracks by the 88’s effectively blocking off all the roads. One of the Panthers was killed by artillery fire but the others and the StuGs could now roam freely down the German left side of the board.
As night started to draw in (No really it did, having played for about 5 hours) The British called it a day and moved back to their start lines ready for another day.
That is it really. I enjoyed the game even though I lost. The German player was relatively new to FOW but is an experienced wargamer so picked up the rules quickly and even found some he had not known previously.
Anyway playing Bob at cauldron next week as I still have the table set up. Not sure I will do another report like this but will get some photos of Bobs Americans for all to see.
Hope you enjoyed.